

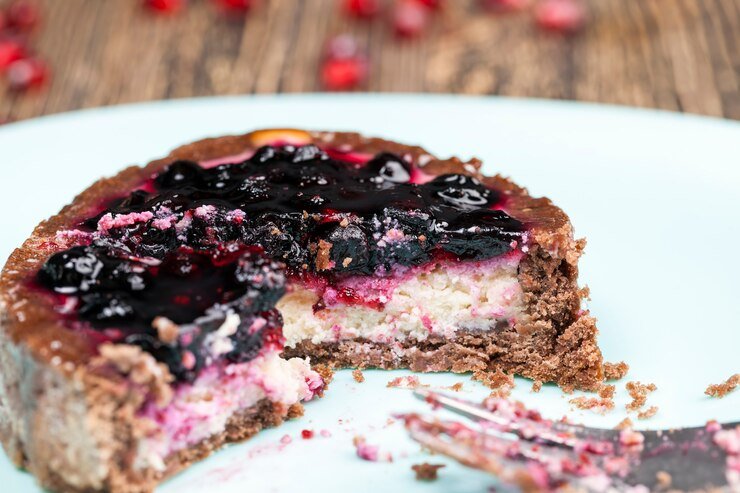
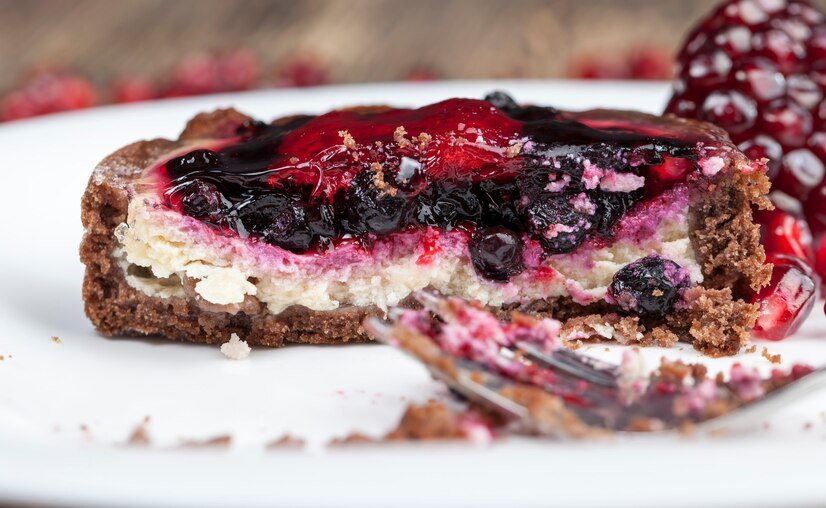
If you’re looking to try something unique and delicious, the Pitaya and Black Goji Berry Cheesecake is an absolute must-try. This cheesecake isn’t just your regular dessert — it blends the vibrant, tropical flavors of pitaya, also known as dragon fruit, with the rich, antioxidant-packed punch of black goji berries. The result is a beautifully colorful and flavorful cheesecake that’s both eye-catching and delicious.
The creamy texture of the cheesecake balances perfectly with the subtle tartness and sweetness from these exotic fruits, making every bite a delightful experience. Whether you want to impress guests at a gathering or simply treat yourself to something special, Pitaya and Black Goji Berry Cheesecake offers a fresh twist on a classic favorite. It’s a dessert that feels indulgent yet fresh, combining healthful ingredients with the comfort of a traditional cheesecake. Give it a try — your taste buds will thank you!
Ingredients
Creating a delicious Pitaya and Black Goji Berry Cheesecake starts with using the right ingredients. Each component plays an important role in bringing together the unique flavors and creamy texture this dessert is known for. Below is a detailed breakdown of the ingredients you’ll need to make this vibrant cheesecake.
For the Crust
The crust forms the perfect base, giving the cheesecake a satisfying crunch. You’ll need graham crackers or digestive biscuits crushed finely, melted butter to bind the crumbs together, and a touch of sugar for sweetness. These simple ingredients come together to create a sturdy and flavorful foundation for the cheesecake.
For the Cheesecake Filling
The filling is where the magic happens. It combines creamy cream cheese, softened for smoothness, with fresh pitaya (dragon fruit) puree, which gives the cheesecake its bright pink color and tropical flavor. Black goji berries, either fresh or rehydrated, add a rich, slightly tart contrast that complements the sweetness.
Granulated sugar sweetens the mix, while eggs help set the cheesecake. A splash of vanilla extract adds depth and aroma, and a bit of lemon juice enhances the fruit flavors for a well-rounded taste.
Optional Toppings
To elevate the cheesecake even more, consider adding extra black goji berries or pitaya slices as garnish. A light drizzle of honey or fruit glaze can also add a beautiful shine and an extra layer of sweetness. These toppings make the dessert look stunning and add fresh bursts of flavor with every bite.
Equipment Needed
To make your Pitaya and Black Goji Berry Cheesecake turn out perfectly, having the right equipment is just as important as the ingredients. The right tools will help you prepare, bake, and present this beautiful dessert with ease. Here’s a list of essential equipment to have ready before you start.
Mixing Bowls and Utensils
You’ll need a few mixing bowls of different sizes to prepare the crust and the cheesecake filling separately. A large mixing bowl is ideal for combining the cream cheese and other filling ingredients smoothly.
Having a rubber spatula or wooden spoon on hand helps with folding in the fruit puree and berries without losing the airiness of the mixture. An electric mixer or stand mixer makes the process faster and ensures a creamy, lump-free batter.
Springform Pan
A springform pan is essential for cheesecakes because it allows you to easily remove the cake without damaging its shape. Choose a 9-inch springform pan for the best results. The removable sides help when you’re ready to serve, giving the cheesecake a clean, professional look.
Additional Tools
Other helpful equipment includes a food processor or blender to puree the pitaya smoothly, a measuring cup and spoons for precise ingredient amounts, and parchment paper to line the pan and prevent sticking. A cooling rack is also useful to let the cheesecake cool evenly after baking.
Step-by-Step Instructions to Make Pitaya and Black Goji Berry Cheesecake
Making a Pitaya and Black Goji Berry Cheesecake is easier than it sounds when you follow a clear step-by-step process. This guide breaks down every stage to help you create a vibrant, creamy dessert with the perfect balance of flavors.
Step 1: Prepare the Crust
To begin, preheat your oven to 325°F (160°C). For the crust, take about 1 ½ cups of graham crackers or digestive biscuits and crush them into fine crumbs. You can use a food processor for this step, or simply place the crackers in a sealed plastic bag and crush them with a rolling pin until you get a sandy texture.
Once the crumbs are ready, transfer them to a mixing bowl and combine with 6 tablespoons of melted butter and 2 tablespoons of sugar. Stir everything together until the mixture is fully combined and resembles wet sand—this ensures the crust holds together well.
Press the mixture evenly and firmly into the bottom of a 9-inch springform pan, forming a compact layer that will serve as the base of your cheesecake. Bake the crust for about 10 minutes in your preheated oven, then remove it and let it cool while you prepare the filling. This pre-baking step helps create a firm, flavorful foundation that won’t become soggy.
Step 2: Make the Cheesecake Filling
For the luscious filling, start by placing 24 ounces (approximately 675 grams) of softened cream cheese in a large mixing bowl. Using an electric mixer, beat the cream cheese with 1 cup of granulated sugar until the mixture is completely smooth and creamy, making sure there are no lumps. Next, add 3 large eggs, one at a time, beating well after each addition.
This gradual incorporation helps maintain a silky texture and prevents overmixing. Stir in 1 teaspoon of vanilla extract along with 1 tablespoon of fresh lemon juice to brighten the overall flavor. Once the base is smooth, it’s time to fold in the fruit. Gently incorporate 1 cup of pitaya (dragon fruit) puree and ½ cup of black goji berries—either fresh or rehydrated—using a rubber spatula.
Be sure to fold slowly and carefully to maintain the airiness of the mixture. The vibrant pink color from the pitaya and the deep hues from the goji berries will give the cheesecake a beautiful marbled effect and a unique tropical-berry flavor.
Step 3: Assemble and Bake
With both the crust and filling ready, it’s time to assemble the cheesecake. Pour the prepared filling into the cooled crust, using a spatula to spread it out evenly in the springform pan. To eliminate any air bubbles that may have formed while mixing, gently tap the pan on your countertop a few times.
Once settled, place the pan on the middle rack of your oven and bake at 325°F (160°C) for about 55 to 65 minutes. You’ll know it’s done when the edges are set but the center still has a gentle wobble when you shake the pan slightly.
Resist the urge to open the oven frequently; maintaining a consistent temperature is key to a crack-free surface. When baking is complete, turn off the oven and leave the cheesecake inside with the oven door slightly ajar.
Let it rest and cool gradually for about 1 hour. This gentle cooling process prevents the top from cracking and helps the cheesecake stabilize as it transitions to room temperature.
Step 4: Cool and Chill
Once the cheesecake has cooled in the oven, transfer it to a wire rack and allow it to come to room temperature completely. This step is crucial—don’t rush it, as sudden temperature changes can cause cracking. After it reaches room temperature, cover the cheesecake loosely with plastic wrap or aluminum foil, ensuring the wrap doesn’t stick to the top.
Place it in the refrigerator and chill for at least 4 hours, though overnight is best. During this time, the cheesecake will firm up and the flavors will meld together beautifully. The chilling process is not just about texture—it enhances the taste and makes slicing easier and cleaner.
A well-chilled cheesecake holds its shape perfectly and offers a silky, melt-in-your-mouth experience.
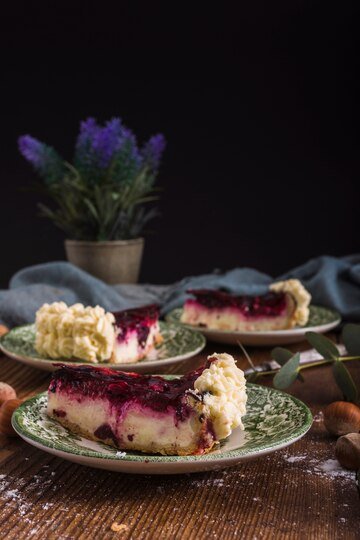
Step 5: Garnish and Serve
Just before serving, take your chilled cheesecake and get creative with the garnish. Decorate the top with a few fresh or rehydrated black goji berries for a pop of color and a burst of earthy sweetness. Thin slices of pitaya arranged in a fan or spiral shape add a vibrant, tropical flair that makes this dessert visually stunning.
For added shine and flavor, lightly drizzle a bit of honey or a fruit glaze across the surface. This final touch enhances both the presentation and the taste. Use a warm knife to cut clean slices and serve on chilled plates for the best experience.
Whether for a celebration or a casual get-together, your Pitaya and Black Goji Berry Cheesecake will be the show-stopping centerpiece everyone will remember.
Serving Suggestions
A dessert as eye-catching and flavorful as Pitaya and Black Goji Berry Cheesecake deserves thoughtful presentation and pairing. The right serving touches can elevate this cheesecake from a simple treat to a showstopping finale for any meal. Here are some easy, elegant ideas to serve it at its best.
Garnish with Fresh Fruits and Glaze
Top the cheesecake with extra slices of fresh pitaya and a generous sprinkle of black goji berries. Their bright colors pop beautifully against the creamy surface. For a glossy finish, lightly brush the top with a fruit glaze or drizzle with honey to enhance both appearance and flavor.
Pair with Light Beverages
Serve each slice with a light, refreshing beverage. Herbal teas like chamomile or a chilled glass of white wine complement the tropical notes and creamy texture of the cheesecake without overpowering it. A sparkling water with lemon also works well for a non-alcoholic option.
Add a Whipped Cream Swirl
A simple swirl of lightly sweetened whipped cream on the side of each plate adds extra creaminess and balances the tart-sweet flavors. Garnish with a mint leaf for a fresh, elegant touch.
Storage and Shelf Life
Proper storage is key to keeping your Pitaya and Black Goji Berry Cheesecake fresh, flavorful, and safe to enjoy over a few days. Here’s how to store it correctly and how long you can expect it to stay at its best.
Storing in the Refrigerator
Once your cheesecake has fully cooled and chilled in the refrigerator for at least 4 hours, cover it tightly with plastic wrap or aluminum foil. You can also store individual slices in airtight containers to make serving easier. In the refrigerator, Pitaya and Black Goji Berry Cheesecake will stay fresh for up to 5 days. Keep it on a middle shelf, away from strong-smelling foods to preserve its delicate flavors.
Freezing for Longer Storage
If you’d like to store your cheesecake for longer, freezing is a good option. Wrap the entire cheesecake or individual slices tightly in plastic wrap, followed by a layer of aluminum foil. Freeze for up to 2 months. Thaw overnight in the refrigerator before serving to maintain its creamy texture.
Frequently Asked Questions
What Does Pitaya and Black Goji Berry Cheesecake Taste Like?
Pitaya and Black Goji Berry Cheesecake has a unique, refreshing flavor that blends tropical sweetness with a hint of tartness. The pitaya, also known as dragon fruit, adds a mildly sweet, fruity note and a beautiful pink color to the cheesecake. Black goji berries bring a slightly tart, berry-like flavor with a subtle earthiness that balances the rich creaminess of the cheesecake. Together, these flavors create a light, fruity dessert that’s indulgent without being overly heavy.
Can You Use Frozen Pitaya for This Cheesecake Recipe?
Yes, you can definitely use frozen pitaya for this recipe. Just make sure to thaw the fruit completely and drain any excess liquid before pureeing it. This helps keep the cheesecake filling from becoming too watery. Frozen pitaya is a convenient option, especially when fresh dragon fruit isn’t in season, and it still delivers vibrant color and flavor to your cheesecake.
How Do You Rehydrate Black Goji Berries for Baking?
To rehydrate black goji berries, simply soak them in warm water for about 10 minutes or until they become plump and soft. Drain them well and gently pat them dry with a paper towel before folding them into your cheesecake filling. Rehydrating ensures the berries blend smoothly into the creamy texture without becoming chewy or tough after baking.
Can You Make Pitaya and Black Goji Berry Cheesecake Ahead of Time?
Yes, this cheesecake is perfect for making ahead of time. In fact, it’s best to prepare it a day in advance since it requires at least 4 hours to chill and set properly in the refrigerator. You can bake it the night before your event, cover it tightly once cooled, and let it chill overnight. This not only saves time but also improves the flavor and texture by allowing everything to meld together.
How Long Can Pitaya and Black Goji Berry Cheesecake Be Stored?
Pitaya and Black Goji Berry Cheesecake can be safely stored in the refrigerator for up to 5 days. Keep it tightly covered with plastic wrap or in an airtight container to maintain its freshness. If you need to store it for longer, you can freeze the cheesecake for up to 2 months. Just wrap it well in plastic and foil, and let it thaw overnight in the refrigerator before serving to preserve its creamy, rich texture.
Conclusion
Pitaya and Black Goji Berry Cheesecake is more than just a dessert — it’s a vibrant, nutrient-rich treat that brings color and bold flavor to your table. The creamy texture of the cheesecake pairs beautifully with the tropical sweetness of pitaya and the subtle tartness of black goji berries.
Perfect for special occasions or when you want to impress with something unique, this cheesecake is as stunning to look at as it is satisfying to eat. Whether you’re a fan of exotic fruits or simply looking to elevate your dessert game, this recipe is sure to become a favorite. Try it once, and you’ll find yourself craving its gorgeous flavors again and again.