

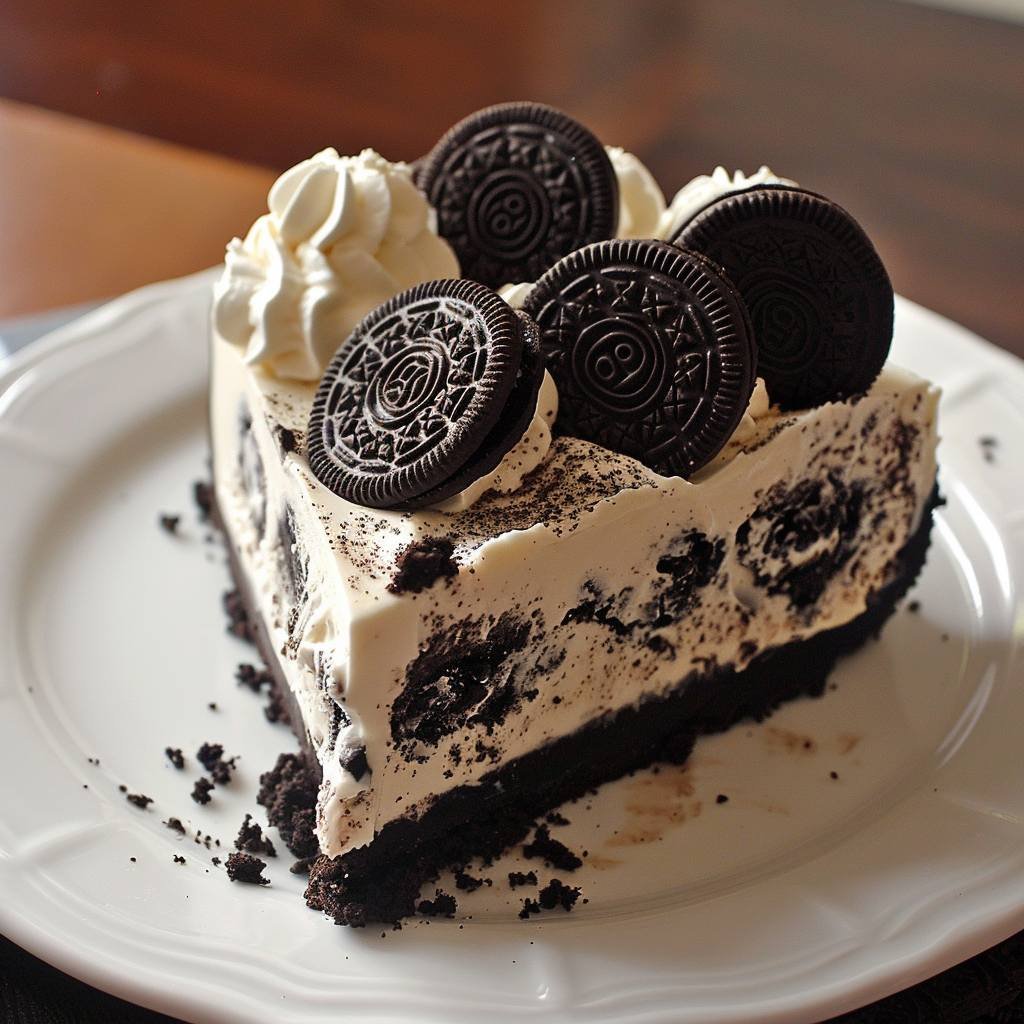
If you’re craving a rich, creamy dessert without the hassle of turning on your oven, the No Bake Oreo Cheesecake Recipe is exactly what you need. This dessert combines the beloved crunch of Oreo cookies with the smooth, luscious texture of classic cheesecake—without any baking involved. It’s perfect for warm days when you want something cool and indulgent, or for those times when you want a quick and impressive dessert without a lot of effort.
With just a few simple ingredients and minimal prep time, this no-bake cheesecake comes together beautifully, making it ideal for beginners and experienced bakers alike. Whether you’re planning a party, a family treat, or just a personal indulgence, this No Bake Oreo Cheesecake Recipe promises delicious results every time.
Ingredients
Creating a delicious No Bake Oreo Cheesecake requires just a handful of simple ingredients that come together to form a rich and creamy dessert. Here’s a breakdown of what you’ll need to make this crowd-pleaser.
Oreo Cookies
The star of this cheesecake is definitely the Oreo cookies. You’ll need enough to create a crunchy base as well as to fold into the creamy filling. Typically, about 20 to 25 Oreo cookies are used — some crushed finely for the crust, and some chopped roughly to add texture to the cheesecake filling. The classic chocolate-and-cream flavor of Oreos perfectly complements the smoothness of the cheesecake.
Cream Cheese
Cream cheese is essential for that rich, velvety texture that makes cheesecake so irresistible. Use full-fat cream cheese for the best flavor and consistency. It should be softened to room temperature to blend smoothly with the other ingredients and avoid lumps.
Heavy Whipping Cream
Heavy whipping cream adds lightness and fluffiness to the cheesecake filling. When whipped, it creates an airy texture that balances the dense cream cheese. It also helps the no-bake cheesecake set nicely in the fridge without baking.
Sugar
Granulated sugar sweetens the filling, but you can adjust the amount to suit your taste. Some recipes also use powdered sugar for a smoother texture, but granulated sugar works well here when whipped thoroughly with the cream cheese.
Vanilla Extract
A splash of vanilla extract enhances the overall flavor and adds warmth to the cheesecake. It’s a small but important addition that rounds out the sweetness and richness.
Butter
Butter is used to bind the Oreo cookie crust together. Melted butter mixed with crushed Oreos forms a firm base that holds the cheesecake filling perfectly. Using unsalted butter gives you more control over the saltiness in the crust.
Optional Ingredients
Some recipes include a pinch of salt to balance the sweetness or a bit of lemon juice to add a subtle tang to the filling. Additionally, you can garnish your cheesecake with extra crushed Oreos, chocolate shavings, or even a drizzle of chocolate syrup for an extra indulgent touch.
Equipment Needed
Making a No Bake Oreo Cheesecake is simple, but having the right equipment on hand can make the process smoother and more enjoyable. Here’s a rundown of the essential tools you’ll need to create this delicious dessert.
Mixing Bowls
You’ll want at least two mixing bowls: one for crushing the Oreo cookies and making the crust, and another for whipping together the cream cheese filling. Using separate bowls helps keep ingredients organized and makes the process cleaner.
Electric Mixer or Stand Mixer
An electric hand mixer or a stand mixer is incredibly helpful when preparing the cheesecake filling. It makes whipping the cream cheese and heavy whipping cream much easier and faster, ensuring a smooth, lump-free, and fluffy texture. While you can whip by hand, it requires more effort and time.
Food Processor or Plastic Bag and Rolling Pin
To crush the Oreo cookies for the crust, a food processor is ideal. It quickly breaks down the cookies into fine crumbs for a perfect base. If you don’t have a food processor, you can place the cookies in a sturdy plastic bag and crush them with a rolling pin or a heavy pan. Just be sure to crush them evenly.
Springform Pan or Pie Dish
A springform pan is the best choice for making a cheesecake because it allows you to easily remove the cake without damaging its shape. An 8- or 9-inch springform pan works well for this recipe. If you don’t have one, a regular pie dish or a removable-bottom cake pan can work, but be extra careful when serving.
Spatula
A rubber or silicone spatula is perfect for folding the chopped Oreos into the cheesecake filling without deflating the whipped cream. It’s also great for scraping down the sides of bowls to ensure you use all the ingredients.
Measuring Cups and Spoons
Accurate measurements are key to baking success, even for no-bake recipes. Having a set of measuring cups and spoons will help you add the right amounts of cream cheese, sugar, and other ingredients to get the perfect balance of flavors and textures.
Refrigerator Space
While not exactly a tool, don’t forget you’ll need enough refrigerator space to chill the cheesecake for several hours or overnight. This chilling time is crucial for the cheesecake to set properly and develop its signature creamy texture.
Step-by-Step Instructions
Creating a delicious No Bake Oreo Cheesecake might sound intimidating, but with clear step-by-step instructions, you’ll find it’s both fun and easy. Follow along carefully to get that perfectly creamy, chocolatey dessert ready to impress!
Step 1: Prepare the Oreo Crust
Start by gathering your Oreo cookies. Remove the cream centers if you prefer a less sweet crust, or leave them in for extra flavor. Use a food processor to crush the cookies into fine crumbs. If you don’t have one, place the cookies in a zip-top bag and crush them with a rolling pin until you get a sandy texture.
Next, combine the crushed Oreos with melted butter. Mix until the crumbs are evenly coated and hold together when pressed. Press this mixture firmly into the bottom of your springform pan or pie dish to form an even crust layer. Place it in the refrigerator while you prepare the filling, so it firms up nicely.
Step 2: Make the Cream Cheese Filling
In a large mixing bowl, add softened cream cheese and beat it using an electric mixer until smooth and creamy. This step is crucial for avoiding lumps and getting a silky cheesecake base. Gradually add powdered sugar and vanilla extract, mixing well to combine.
In a separate bowl, whip the heavy cream until stiff peaks form. This whipped cream will give your cheesecake its light and airy texture. Carefully fold the whipped cream into the cream cheese mixture using a spatula, ensuring you keep as much air as possible for a fluffy filling.
Step 3: Add the Oreo Pieces to the Filling
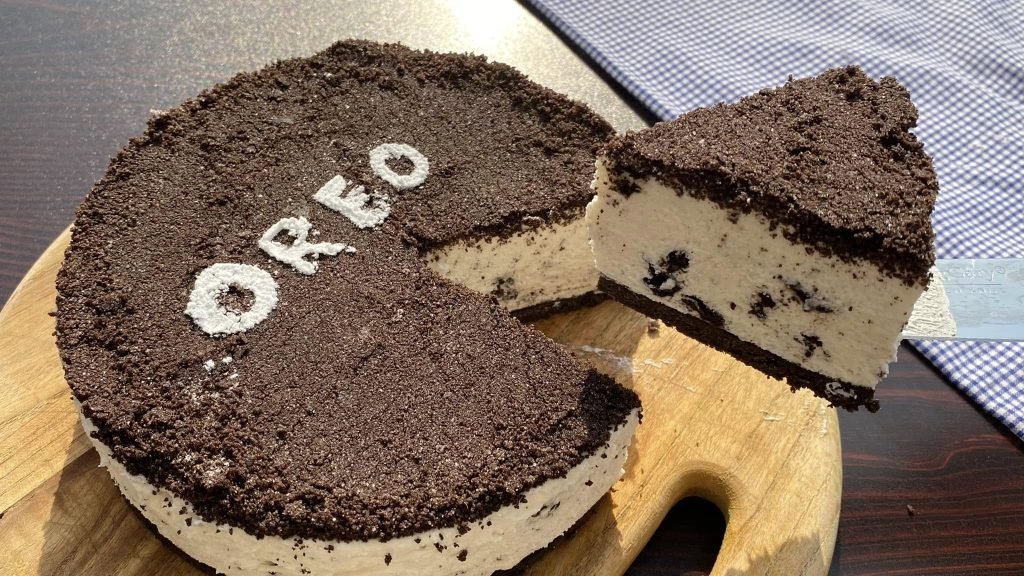
Roughly chop several Oreo cookies and gently fold them into the cream cheese and whipped cream mixture. This adds delightful chunks of cookie throughout the cheesecake, providing texture and bursts of chocolate flavor in every bite. Be careful not to overmix; you want the pieces evenly distributed without crushing them.
Step 4: Assemble the Cheesecake
Remove the crust from the refrigerator. Spoon the Oreo cream cheese filling over the crust, spreading it out evenly with a spatula or the back of a spoon. Smooth the top for a clean finish.
At this point, you can also add extra crushed Oreos or even drizzle some chocolate syrup over the top for decoration. It’s your chance to get creative and make it look as enticing as it tastes!
Step 5: Chill and Set
Place the assembled cheesecake in the refrigerator and allow it to chill for at least 4 hours, though overnight is best. This chilling time is essential—it lets the filling firm up and the flavors meld beautifully, giving you that classic creamy cheesecake texture without any baking.
Step 6: Serve and Enjoy
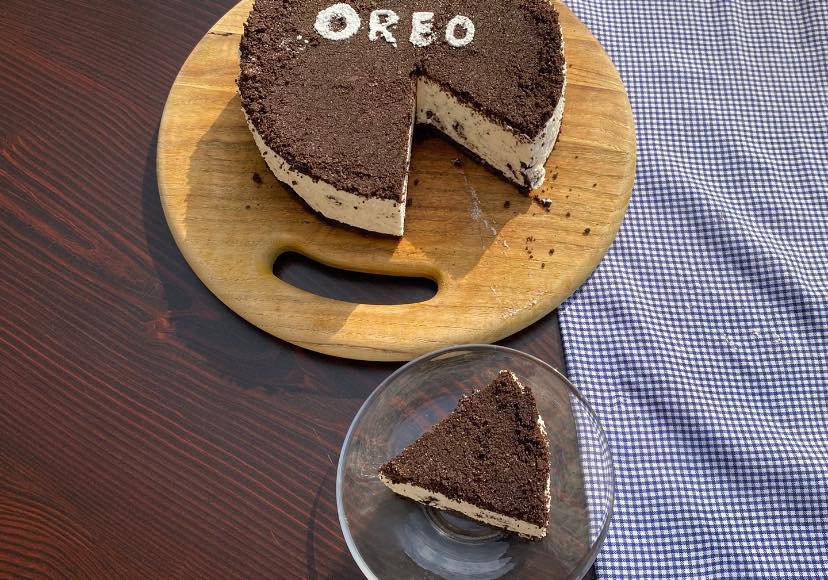
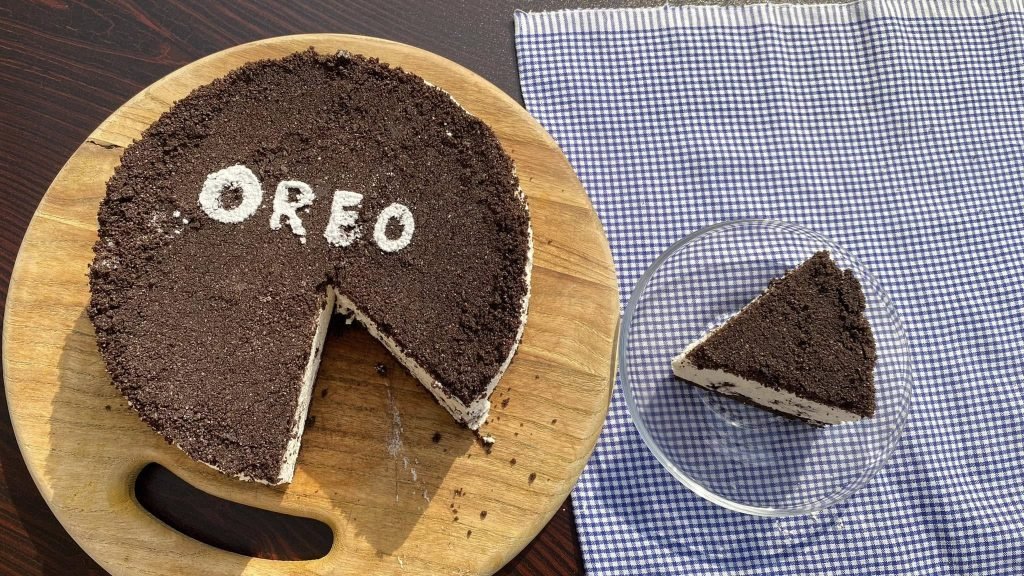
Once chilled, carefully remove the cheesecake from the springform pan. If you used a pie dish, slice carefully with a sharp knife. Serve chilled for the best taste and texture.
Tips for Perfect No-Bake Oreo Cheesecake
Making a No-Bake Oreo Cheesecake can be simple, but a few helpful tips can make sure your dessert turns out absolutely perfect every time. Whether it’s your first time or you’re a seasoned baker, these tips will help you achieve that creamy, rich texture and irresistible flavor.
Use Room Temperature Cream Cheese for Smooth Filling
One of the most important tips is to use cream cheese at room temperature. Cold cream cheese can cause lumps in your filling, making it less smooth and creamy. Let it sit out for about 30 minutes before you start mixing. This helps you blend the ingredients evenly, resulting in a silky texture that melts in your mouth.
Don’t Overmix the Whipped Cream
When folding whipped cream into the cream cheese mixture, be gentle. Overmixing can deflate the whipped cream, which will affect the lightness and fluffiness of your cheesecake. Use a spatula to fold slowly and carefully until the whipped cream is just incorporated, keeping that airy texture intact.
Crush Oreos to the Right Consistency for the Crust
For the crust, crush the Oreos finely enough so that the crumbs stick together when combined with butter, but not so fine that they become powdery. A good texture helps the crust hold its shape and gives you that satisfying crunch with every bite.
Chill Long Enough for the Best Results
Patience is key! Make sure you chill your cheesecake for at least 4 hours, but preferably overnight. This allows the filling to set properly and the flavors to meld beautifully. Trying to slice or serve it too soon can cause the cheesecake to be too soft and messy.
Customize Toppings for Extra Flavor and Presentation
Feel free to get creative with toppings. Adding extra crushed Oreos, chocolate drizzle, or even a dollop of whipped cream on top not only enhances the flavor but also makes your cheesecake look stunning. Just be mindful not to add too much moisture, which can affect the texture.
Use a Springform Pan for Easy Removal
Using a springform pan makes removing your cheesecake easier without damaging the sides. If you don’t have one, line your pan with parchment paper to prevent sticking and make lifting simpler.
Variations and Flavor Additions
No-Bake Oreo Cheesecake is already a crowd-pleaser, but adding a few variations and flavor twists can take this classic dessert to the next level. Whether you want to make it more indulgent or add a fresh twist, there are plenty of ways to customize your cheesecake to suit your taste and occasion.
Incorporate Different Cookie Flavors for the Crust
While traditional Oreo cookies work perfectly for the crust, you can experiment with different cookie flavors to change up the base. Try using chocolate chip cookies, graham crackers, or even mint-flavored Oreos for a refreshing twist. Each option brings a unique flavor and texture to the crust, giving your cheesecake a new personality.
Add Fruit Layers or Toppings for Freshness
For a burst of freshness, consider adding fruit layers or toppings. Fresh strawberries, raspberries, or blueberries pair beautifully with the creamy cheesecake and chocolatey Oreos. You can layer sliced fruit between the crust and filling or simply scatter berries on top just before serving. This addition not only adds vibrant color but also balances the richness of the cheesecake.
Mix in Peanut Butter or Nutella for Extra Indulgence
If you love rich, nutty flavors, try swirling peanut butter or Nutella into the cheesecake filling before chilling. These creamy spreads blend beautifully with the cream cheese and whipped cream, creating a decadent, melt-in-your-mouth experience. Just be sure to fold them in gently to keep the filling light and airy.
Experiment with Chocolate Variations
To boost the chocolate flavor, add mini chocolate chips or white chocolate chunks to the filling. Alternatively, drizzle melted dark or white chocolate over the top of the cheesecake before serving for a professional finish. Chocolate lovers will appreciate these decadent touches that add texture and depth.
Use Flavored Extracts for a Subtle Twist
A small splash of flavored extracts like mint, almond, or coffee can transform your cheesecake into something uniquely yours. Just a teaspoon or two stirred into the filling adds a subtle but delightful hint of flavor that complements the Oreos perfectly without overpowering the classic taste.
Try a Vegan or Gluten-Free Version
For those with dietary preferences, you can adapt the recipe using dairy-free cream cheese and whipped toppings. Gluten-free Oreos or alternative cookies make this dessert accessible for gluten sensitivities, ensuring everyone can enjoy this delicious treat.
Frequently Asked Questions
How Long Does It Take to Make No Bake Oreo Cheesecake?
You can expect the preparation time for a No Bake Oreo Cheesecake to be around 20 to 30 minutes. However, it requires several hours of chilling—usually at least 4 hours or overnight—to set properly. This chilling time is crucial to achieve the firm yet creamy texture that makes this dessert so delightful.
Can I Use Different Cookies Instead of Oreos for the Crust?
Absolutely! While Oreos are the classic choice, you can substitute them with other cookies like chocolate chip cookies, graham crackers, or even gluten-free options. Just make sure to crush them finely and mix with melted butter to create a firm crust that holds together well.
How Do I Store No Bake Oreo Cheesecake?
You should store your No Bake Oreo Cheesecake in the refrigerator, covered tightly with plastic wrap or in an airtight container. It typically stays fresh for up to 4-5 days. If you want to keep it longer, you can freeze it for up to a month—just thaw it overnight in the fridge before serving.
Can I Make No Bake Oreo Cheesecake Ahead of Time?
Yes, this cheesecake is perfect for making ahead. Prepare it a day or two in advance, allowing ample time for chilling. This helps the flavors meld together and ensures the cheesecake is perfectly set when it’s time to serve.
Is It Possible to Make a Vegan or Dairy-Free Version of This Cheesecake?
Yes, you can easily make a vegan or dairy-free No Bake Oreo Cheesecake by using plant-based cream cheese and dairy-free whipped topping alternatives. Also, check that the cookies you use are vegan-friendly, as not all Oreos meet this criterion depending on your location. This way, everyone can enjoy this creamy treat!
Conclusion
The No Bake Oreo Cheesecake Recipe is a delicious and effortless dessert that’s perfect for any occasion. With its creamy, rich filling and crunchy Oreo crust, it’s a crowd-pleaser that requires minimal baking skills and time. Whether you’re hosting a party or just craving a sweet treat, this cheesecake offers a perfect balance of flavors and textures without the hassle of an oven.
Plus, it’s easy to customize with different cookies or flavor additions to suit your taste. Make sure to chill it properly for the best results, and you’ll have a show-stopping dessert ready in no time. This recipe truly combines simplicity and indulgence, making it a must-try for Oreo lovers and cheesecake fans alike.