If you’ve ever wondered how to make chocolate coating that hardens perfectly on your favorite desserts, you’re in the right place. There’s something irresistible about that glossy, crackly chocolate shell on ice cream bars, cake pops, or dipped strawberries — and the best part is, it’s surprisingly simple to make at home. You don’t need any fancy equipment or hard-to-find ingredients to pull it off either.
In this guide, we’ll walk you through how to make chocolate coating that hardens using just a few pantry staples and easy-to-follow steps. Whether you’re dipping frozen treats, decorating baked goods, or adding a professional-looking touch to homemade candies, this quick recipe delivers that smooth, snappy finish every time. Once you master this basic technique, you’ll find endless ways to use it in your kitchen. Let’s get started and turn those simple desserts into something truly special!
Ingredients Needed for Hardening Chocolate Coating
Creating a perfect chocolate coating that hardens to a smooth, glossy finish requires the right ingredients. Whether you’re dipping treats like strawberries, nuts, or even making chocolate-covered candies, the ingredients you use can make all the difference. Here’s a breakdown of what you’ll need for a solid and reliable chocolate coating.
High-Quality Chocolate
The most essential ingredient for hardening chocolate is, of course, the chocolate itself. To get a beautiful, smooth coating that hardens perfectly, choose high-quality chocolate. This could be dark, milk, or white chocolate, depending on your preference.
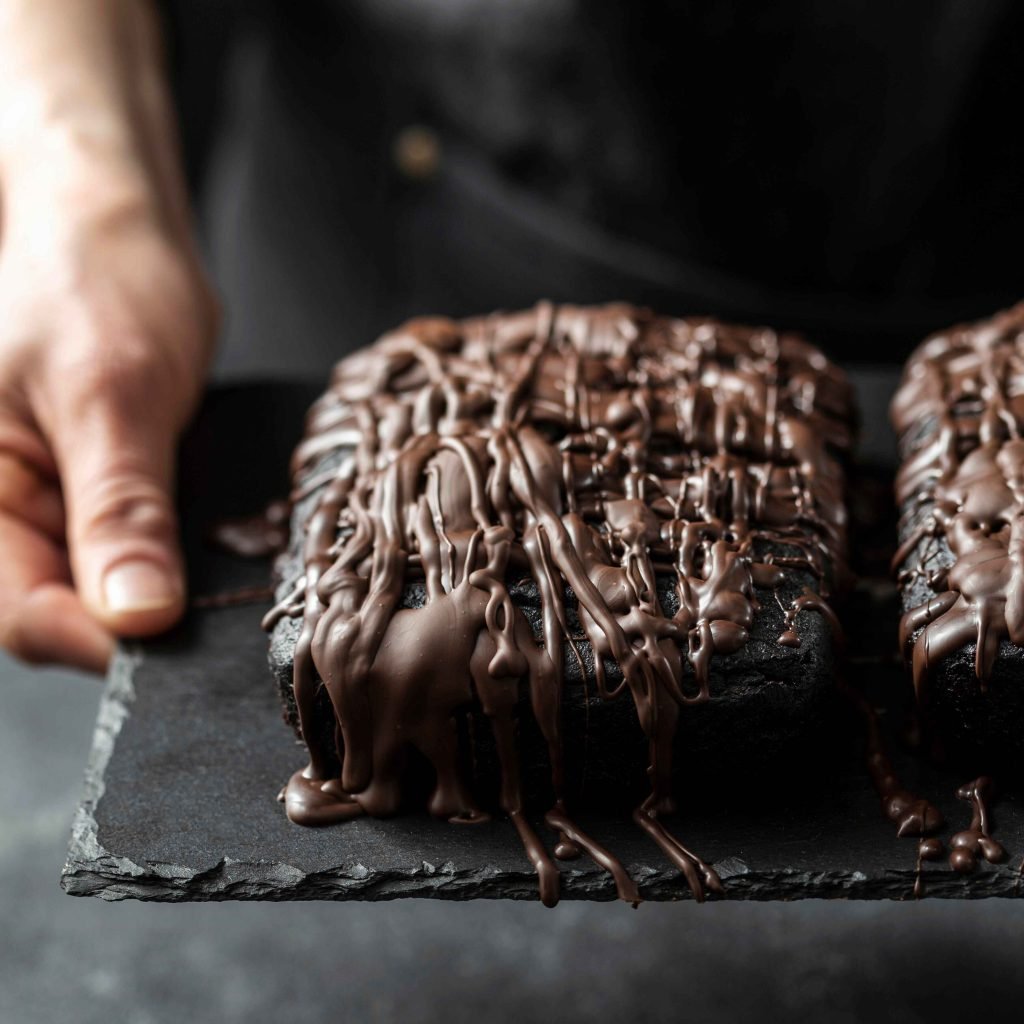
It’s best to use chocolate with a cocoa content of at least 50%, as this will help achieve a richer flavor and firmer finish. Make sure to select chocolate bars or chips that contain a high percentage of cocoa solids, as lower-quality chocolate may not harden well or may develop a dull, streaky appearance.
Cocoa Butter or Vegetable Oil
While chocolate contains cocoa butter naturally, adding a little more can help achieve a shinier and more stable hardened surface. Cocoa butter improves the texture and provides that luxurious sheen we associate with perfectly coated chocolate treats.
If cocoa butter isn’t available, a small amount of vegetable oil or shortening can work as a substitute. This helps prevent the chocolate from becoming too thick and ensures it hardens without becoming brittle.
Sugar (Optional)
Sometimes, depending on the chocolate you’re using, adding a bit of sugar can improve the texture and help the coating harden more quickly. This is especially useful if you’re using unsweetened or semi-sweet chocolate, as the sugar can balance out the bitterness while ensuring that the coating hardens properly. However, keep in mind that sugar isn’t necessary if you’re already using milk or sweetened chocolate.
Heavy Cream (For Ganache Coating)
If you’re planning on creating a ganache-style coating, heavy cream is an essential ingredient. Combining equal parts of heavy cream and high-quality chocolate creates a smooth and velvety ganache that hardens to a luxurious texture. Ganache coatings are perfect for rich desserts, adding a silky finish to cakes, cookies, and truffles. The heavy cream softens the chocolate, making it easy to apply while also helping it set quickly as it cools.
Optional Flavorings or Extracts
For those looking to customize their chocolate coating, you can add flavorings like vanilla extract, mint extract, or even espresso powder. Just a few drops of extract can elevate your chocolate coating, giving it a unique twist. Remember to add these flavorings in moderation, as too much liquid can interfere with the hardening process.
With the right ingredients in hand, you’ll be able to create a chocolate coating that’s not only delicious but also beautifully shiny and firm once it hardens. Whether you’re making candy or just want to perfect your chocolate-covered strawberries, these simple yet essential ingredients will get you there.
Types of Chocolate for Hard Coating
Choosing the right type of chocolate is key to achieving the perfect hard coating for your treats. Different types of chocolate provide various textures, flavors, and finishing results. Whether you’re covering fruit, candy, or baked goods, understanding the different chocolate options available can help you select the best one for your needs. Here’s a look at the most common types of chocolate used for hard coating.
Dark Chocolate
Dark chocolate is a favorite for hard coatings due to its rich, intense flavor and firm texture once it cools. It typically contains a higher percentage of cocoa solids, which makes it ideal for creating a glossy, smooth finish that hardens perfectly.
Dark chocolate coatings tend to be more stable, providing a solid and long-lasting shell for your treats. The bitterness of dark chocolate pairs well with sweeter fillings, balancing the flavor and adding sophistication to your confections. It’s also a great option for those who prefer a less sugary treat.
Milk Chocolate
Milk chocolate is a sweeter, creamier option that provides a softer coating than dark chocolate. It’s ideal for those who prefer a smoother, sweeter finish on their chocolate-covered creations. While milk chocolate has a lower cocoa content than dark chocolate, it still hardens nicely when properly tempered.
The sugar and milk content in milk chocolate can affect how firm the coating gets, but with the right technique, it will harden to a satisfying consistency. Milk chocolate coatings are popular for covering fruits like strawberries or creating milk chocolate-dipped truffles.
White Chocolate
White chocolate is a popular choice for a lighter, sweeter coating. It doesn’t contain cocoa solids, which is why it lacks the deep, rich flavor of dark chocolate. However, it offers a smooth, creamy texture that hardens well when tempered.
White chocolate coatings are perfect for those who enjoy a more delicate, less intense chocolate flavor. Because it has a higher fat content, white chocolate tends to create a very glossy finish, which makes it especially appealing for visually striking desserts. Keep in mind, though, that white chocolate may not be as firm as dark chocolate once it sets, so it’s ideal for softer confections.
Compound Chocolate
Compound chocolate is made by combining cocoa powder, sugar, and a fat like palm kernel oil, rather than using cocoa butter. This type of chocolate is often used for coating treats due to its ease of use and lower cost.
Compound chocolate doesn’t require tempering, which makes it an excellent option for beginners. It hardens well at room temperature and provides a nice finish, but it may not have the same richness or smoothness as couverture chocolate. Compound chocolate is widely used in candy-making and mass-produced chocolate-covered snacks.
Couverture Chocolate
Couverture chocolate is a high-quality chocolate specifically designed for coating. It contains a high percentage of cocoa butter, which gives it a smooth, glossy finish when tempered correctly. It’s often used by professional chocolatiers because of its ability to harden to a perfect, shiny finish.
Although it requires tempering, the results are worth the extra effort, as it provides a superior coating that is both stable and smooth. Couverture chocolate is the go-to option for anyone seeking the highest quality in their chocolate coatings.
Selecting the right type of chocolate depends on your desired flavor, texture, and the overall look you want for your chocolate-coated treats. Each variety has its own strengths, so consider these options when planning your next chocolatey creation!
Step-by-Step Instructions to Make Chocolate Coating That Hardens
Creating a smooth, glossy chocolate coating that hardens perfectly is an essential skill for many baking and candy-making projects. Whether you’re making chocolate-covered strawberries, truffles, or even creating chocolate shells for ice cream, learning how to temper chocolate properly will ensure that your treats turn out beautifully. Follow these simple, step-by-step instructions to make a chocolate coating that hardens to perfection every time.
Gather Your Ingredients and Tools
Before you start, make sure you have everything you need:
- High-quality chocolate (dark, milk, or white chocolate)
- Cocoa butter or vegetable oil (optional, for a glossier finish)
- A heatproof bowl
- A double boiler or microwave-safe bowl
- A thermometer (optional but helpful)
- A spoon or spatula
- A cooling rack or parchment paper for setting the chocolate
Chop the Chocolate
Start by chopping your chocolate into small, uniform pieces. This ensures that the chocolate melts evenly and prevents any overheating. If you’re using chocolate chips, you can skip this step, but chopping bars of chocolate will give you more control over the melting process.
Melt the Chocolate
There are two common methods for melting chocolate: using a double boiler or the microwave.
Double Boiler Method
To melt chocolate using the double boiler method, fill a saucepan with a few inches of water and place it on the stove over low heat. Set a heatproof bowl on top of the saucepan, ensuring it doesn’t touch the water, and add the chopped chocolate to the bowl. Stir the chocolate gently as it melts. The steam from the simmering water will melt the chocolate without applying direct heat, which helps prevent scorching.
Microwave Method
Alternatively, for the microwave method, place the chopped chocolate into a microwave-safe bowl and heat it in 30-second intervals, stirring between each session. Continue this process until the chocolate is mostly melted, leaving a few small chunks. The residual heat will finish melting the rest. Be cautious not to overheat the chocolate, as it can seize or become too thick.
Add Cocoa Butter or Vegetable Oil (Optional)
If you want a shinier, smoother finish, you can add a small amount of cocoa butter or vegetable oil to the melted chocolate. This is especially useful when making chocolate coatings that need to harden with a glossy sheen. Stir the cocoa butter or oil into the melted chocolate until fully combined. Start with about one tablespoon of fat for every 8 ounces of chocolate.
Temper the Chocolate (For Best Results)
Tempering chocolate is a process of carefully cooling and reheating chocolate to stabilize the cocoa butter crystals. This step ensures that the chocolate hardens with a smooth, glossy finish, and helps avoid a dull or streaky look.
How to Temper Chocolate:
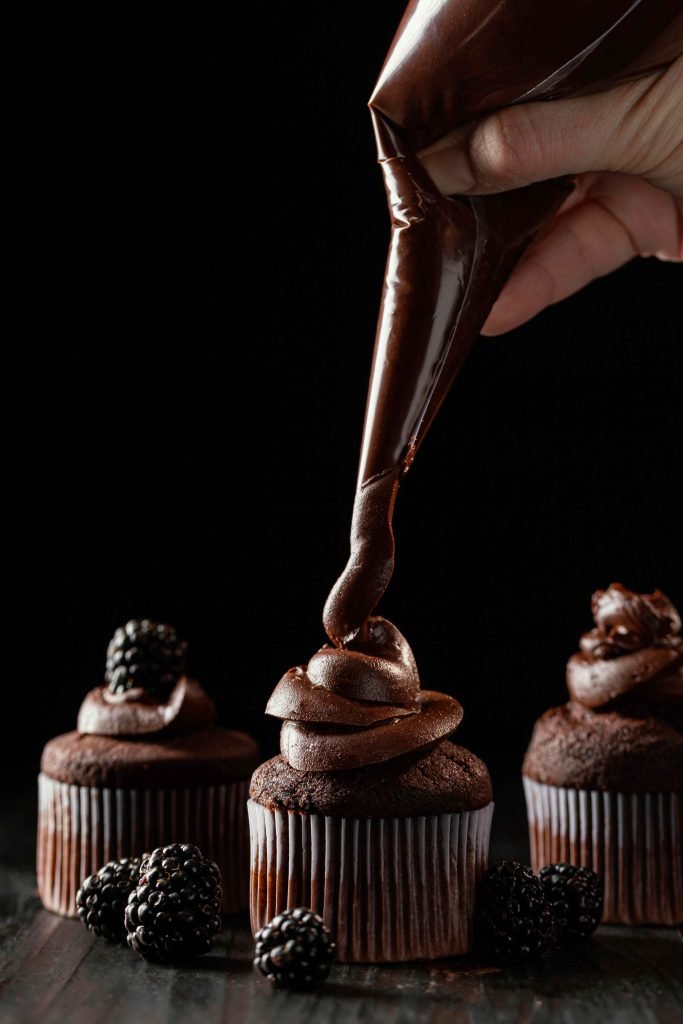
Tempering chocolate is essential for achieving a firm, glossy coating that snaps when bitten. Start by melting two-thirds of chopped chocolate over a double boiler, stirring gently until smooth. Remove from heat and add the remaining third of chocolate, stirring continuously to cool it down.
Dark chocolate should reach 88–90°F, while milk and white chocolate should cool to 84–86°F. Once tempered, the chocolate will coat evenly and harden with a perfect shine. Work quickly while dipping treats to maintain the ideal temperature, and return the chocolate to gentle heat if it starts to thicken or lose its smoothness.
Coat Your Treats
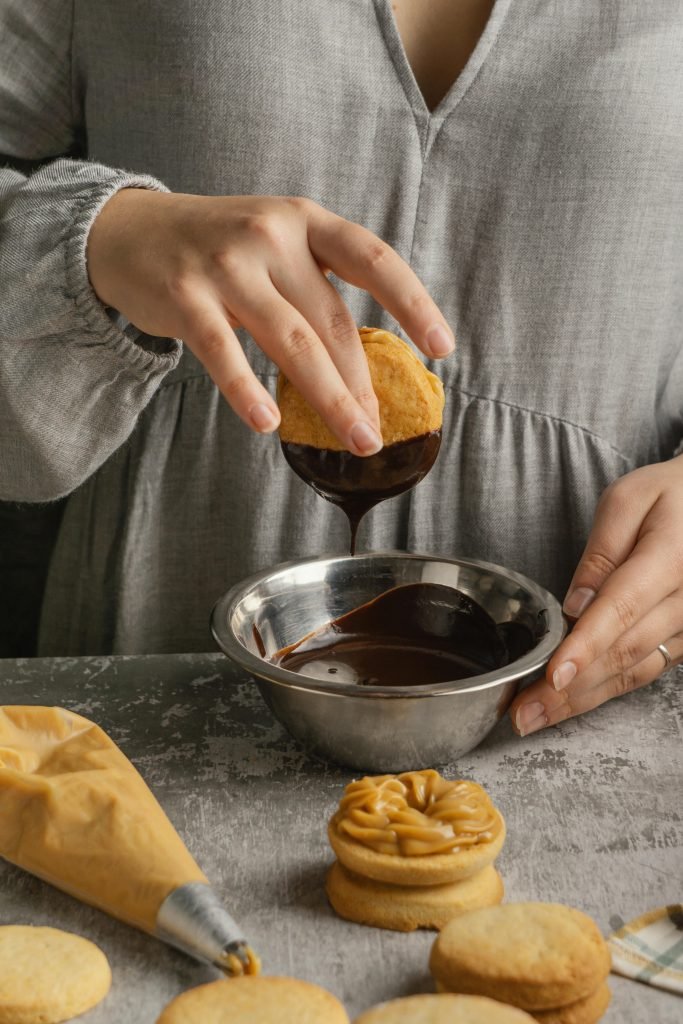
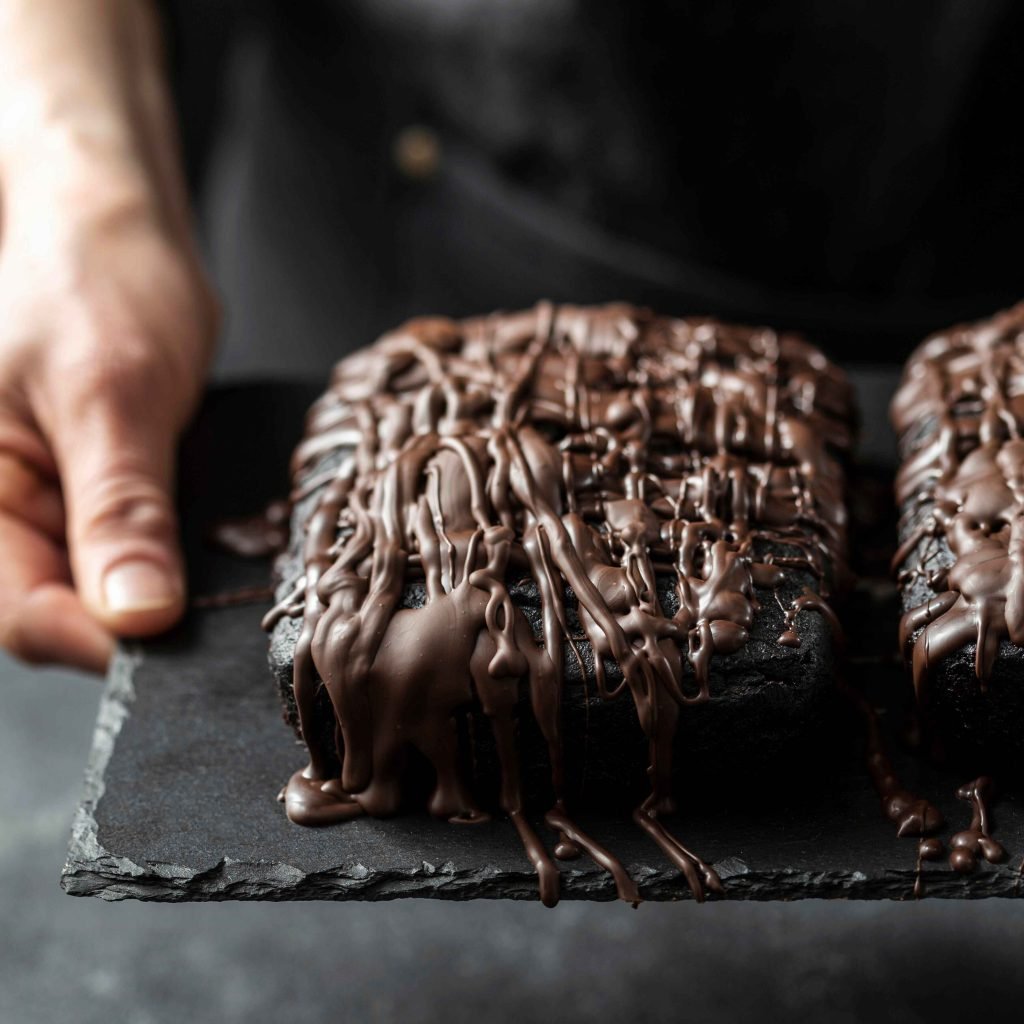
Once your chocolate is melted and ready, start by preparing your dipping station with parchment-lined trays and dry, clean tools. Dip each treat individually into the chocolate, using a fork or skewer, and gently tap off the excess for a smooth finish.
Quickly add toppings like nuts, sprinkles, or coconut before the chocolate sets to ensure they stick. Let your coated treats chill in the refrigerator for about 15–30 minutes until firm. Once hardened, store them in an airtight container at a cool, dry place, bringing them to room temperature before serving for the best texture and flavor.
Store the Coated Treats
Once your chocolate coating has hardened completely, you can store your treats in an airtight container. For optimal freshness, keep them in a cool, dry place away from direct sunlight. If you’ve used tempering, your chocolate coating should remain crisp and glossy at room temperature.
Enjoy!
After all the hard work, you can now enjoy your beautifully coated treats with the satisfaction of knowing you’ve created a perfect chocolate shell that hardens beautifully. Whether you’re making them for a special occasion or just for yourself, this simple technique will elevate your chocolate creations to the next level!
By following these steps, you’ll ensure your chocolate coating hardens to perfection every time, giving your confections the professional touch they deserve.
Methods to Make Chocolate Coating That Hardens
When making chocolate-covered treats, it’s crucial that the chocolate coating hardens properly. A smooth and firm chocolate shell can elevate the texture and appearance of candies, truffles, or desserts. Here are some methods to achieve a chocolate coating that hardens perfectly.
Tempering Chocolate
Tempering chocolate involves melting and cooling it to stabilize the cocoa butter crystals, which results in a glossy finish and smooth texture. This method ensures that the chocolate doesn’t become too soft or streaky once it cools. To temper chocolate, begin by chopping it into small, uniform pieces and melting two-thirds of it in a heatproof bowl over simmering water or in the microwave, stirring frequently to avoid burning.
Once melted, remove it from heat and add the remaining third of the chocolate pieces, stirring until the temperature drops to around 88–90°F for dark chocolate (slightly lower for milk or white chocolate). If the chocolate thickens too much, it can be briefly reheated to achieve the desired consistency. Tempered chocolate hardens with a glossy finish, a firm texture, and a satisfying snap when broken.
Using Coconut Oil or Vegetable Oil
An easier method for hardening chocolate is by mixing it with coconut oil or vegetable oil. This technique is commonly used for chocolate bark or candy-making, and it results in a thinner coating. To use this method, melt the chocolate as usual, either over a double boiler or in the microwave.
Then, add about 1 tablespoon of coconut oil or vegetable oil for every 6 ounces of chocolate. Stir the mixture until the oil is fully incorporated. Once combined, dip your treats into the chocolate and allow them to set in the refrigerator, which helps the chocolate firm up more quickly. While this method helps the chocolate harden at room temperature, it may not provide the same glossy finish that tempered chocolate offers.
Freezing the Coated Treats
If you’re in a hurry, freezing chocolate-coated treats is an effective way to get a hard coating. Although this method doesn’t provide the professional glossy finish of tempered chocolate, it works well for home candy-making. After dipping your treats in chocolate, place them on a baking sheet lined with parchment paper.
Then, put the baking sheet in the freezer for 15-30 minutes, depending on the thickness of the chocolate coating. Once the chocolate has hardened, remove the treats. Freezing is ideal when you need a firm chocolate coating quickly, but be aware that the chocolate may begin to soften if exposed to warmer temperatures.
Tips for Perfect Hard Chocolate Coating
Achieving a perfectly hard chocolate coating is an essential step in creating delicious treats like chocolate-covered fruits, candies, or truffles. A smooth, firm, and glossy chocolate shell adds a professional touch to your desserts. Here are some tips to help you perfect your chocolate coating technique.
Use Quality Chocolate
The first step to a perfect chocolate coating is selecting high-quality chocolate. The better the chocolate, the more likely it will melt smoothly and set properly. Look for chocolate that contains a high percentage of cocoa butter, which helps the chocolate harden well. Dark, milk, or white chocolate all require different handling, so choose your chocolate based on your preference and treat requirements.
Temper the Chocolate Properly
Tempering chocolate is one of the most important steps to ensure your chocolate coating hardens with a glossy finish. When chocolate is tempered, its cocoa butter crystallizes in a way that gives it a firm and shiny finish once cooled. To temper chocolate, melt it gently and then cool it to the right temperature.
For dark chocolate, the target temperature is around 88–90°F (31–32°C), while milk and white chocolate should be slightly cooler. This process helps the chocolate harden quickly, maintaining its glossy appearance.
Avoid Moisture
When working with chocolate, it’s crucial to avoid any moisture, as water can cause the chocolate to seize, turning it grainy and clumpy. Ensure your utensils, bowls, and surfaces are completely dry before you start. Additionally, keep your hands dry while dipping treats in chocolate, as moisture can ruin the texture and cause the chocolate to lose its smooth consistency.
Coat Thin Layers
For a perfect chocolate coating, it’s better to apply multiple thin layers rather than one thick layer. Thin layers of chocolate will set faster and result in a smoother, more even finish. If you’re coating something like fruit or nuts, dip them into the chocolate, let them set for a minute, and repeat the process until you achieve the desired thickness.
Chill to Set
Once your treats are coated, chill them in the refrigerator or freezer to speed up the hardening process. This ensures the chocolate sets evenly and becomes firm more quickly. Just be sure not to leave them in too long, as very cold temperatures can affect the texture and cause the chocolate to crack if it’s removed too abruptly.
Creative Uses for Hard Chocolate Coating
Hard chocolate coatings are not only a treat for the taste buds but also a versatile ingredient in the kitchen. Whether you’re looking to elevate your desserts or try something new, a firm, glossy chocolate shell can add texture, flavor, and beauty to a wide variety of treats. Here are some creative ways to use hard chocolate coating in your culinary creations.
Chocolate-Covered Fruits
Chocolate-covered fruits are a classic favorite, and for good reason. Hard chocolate coatings add a delightful crunch that pairs perfectly with the juicy sweetness of fruits like strawberries, bananas, oranges, or even dried fruits like apricots and raisins. For an extra twist, try adding toppings like crushed nuts, coconut flakes, or sprinkles before the chocolate sets, creating a multi-textured treat that’s both satisfying and delicious.
Truffles and Bonbons
For a truly indulgent treat, use hard chocolate coating to create decadent truffles or bonbons. After preparing a rich ganache filling, roll it into balls or use molds to shape your filling. Dip each piece into tempered chocolate for a firm, glossy shell that contrasts beautifully with the smooth, creamy interior. You can experiment with different ganache flavors, such as caramel, hazelnut, or fruit infusions, to make your truffles even more unique.
Chocolate Bark
Chocolate bark is a fun, customizable treat that allows you to get creative with flavors and textures. Simply spread melted tempered chocolate on a baking sheet, and then top it with ingredients like crushed nuts, dried fruit, pretzels, or even crushed candy.
Once the chocolate hardens, break it into pieces to serve as a snack or gift. You can also drizzle different types of chocolate over the top for a marbled effect that adds an artistic touch.
Chocolate-Covered Pretzels
The combination of sweet and salty in chocolate-covered pretzels is irresistible. Dip pretzels into melted chocolate, and let them harden to create a satisfying snack. You can add extra flair by drizzling white chocolate over the top, sprinkling with crushed candy, or dusting with sea salt to enhance the flavor contrast. These are perfect for parties, as they’re easy to make and enjoy.
FAQs
How Do You Make Chocolate Coating That Hardens?
To make chocolate coating that hardens, you need to start with quality chocolate and use the right techniques. The best way to achieve a firm, glossy coating is by tempering the chocolate. Start by melting the chocolate gently, either over a double boiler or in the microwave.
Once melted, cool the chocolate by adding small amounts of chopped chocolate and stirring constantly. For dark chocolate, you should aim for a temperature of around 88–90°F (31–32°C), while milk or white chocolate should be slightly lower. This process helps the cocoa butter crystals align properly, ensuring the chocolate hardens to a firm, smooth finish.
What Is the Best Chocolate for Coating That Hardens?
The best chocolate for a hard coating is one that contains a high percentage of cocoa butter, which is key to achieving the glossy, firm finish you desire. Dark chocolate with 60% or more cocoa content is ideal for a sturdy coating that hardens well. If you prefer milk or white chocolate, make sure they contain enough cocoa butter to firm up when cooled. Avoid using chocolate chips for coating, as they often contain stabilizers that prevent proper tempering. Instead, opt for couverture chocolate or baking bars, which are specifically designed for melting and coating purposes.
Can You Use Oil in Chocolate to Make It Harden?
Yes, adding a small amount of oil to your chocolate can help it harden, though it won’t give the same professional finish as tempered chocolate. Coconut oil or vegetable oil is commonly used to create a softer, thinner coating. For every 6 ounces of chocolate, add about 1 tablespoon of oil.
This method is often used for creating a quick, glossy finish for chocolate bark, pretzels, or fruit. However, keep in mind that the coating may lack the snap and shine of a properly tempered chocolate coating. It is also more sensitive to temperature changes and may soften in warm conditions.
How Long Does It Take for Chocolate Coating to Harden?
The time it takes for chocolate coating to harden depends on the method and thickness of the coating. If you temper the chocolate and coat your treats thinly, they should harden in about 15–30 minutes at room temperature. However, if you’re in a hurry or want a quicker set, placing the treats in the refrigerator for 10–15 minutes will speed up the process. For thicker coatings, it may take longer for the chocolate to fully set, so be patient.
How Do You Fix Chocolate That Won’t Harden?
If your chocolate isn’t hardening properly, it’s likely due to incorrect tempering or moisture interference. If the chocolate was overheated or if water got into it, the chocolate may seize up and become grainy. To fix this, gently reheat the chocolate and try to temper it again by cooling it to the correct temperature.
If the chocolate remains too thick or doesn’t set, you can also add a small amount of cocoa butter or vegetable oil to thin it out and make it easier to work with. If you’re using oil, be aware that it may not produce a glossy finish but will still help the chocolate harden.
Final Words
In conclusion, making a chocolate coating that hardens requires careful attention to the type of chocolate you use and the technique employed. Tempering chocolate is the best method for achieving a glossy, firm finish, while adding oil can be a simpler option for a softer coating. Ensuring that the chocolate is properly melted, avoiding moisture, and chilling your treats can also play a significant role in achieving the perfect hard chocolate coating.
Whether you’re coating fruits, truffles, or other sweets, following these steps will help you create a delicious and visually appealing result. With a little practice, you’ll be able to master the art of hard chocolate coatings for all your confectionary needs.
