

If you love spoiling your pup with homemade treats, you’re going to love these Dog Cookie Frosting Recipes. Whether you’re baking for a special occasion or just because your furry friend deserves something extra, adding a safe and tasty frosting can take those homemade dog cookies to the next level. But not all frostings are dog-friendly—some common ingredients like sugar, chocolate, or artificial sweeteners can be harmful to dogs. That’s why it’s important to use recipes that are specifically designed with your dog’s health in mind.
These Dog Cookie Frosting Recipes are made with simple, wholesome ingredients you likely already have in your kitchen. They’re easy to whip up and safe for most pups, with options for hard-drying frostings, yogurt glazes, and peanut butter toppings. Ready to dress up your dog treats with some flair? Let’s dive into these fun and dog-approved frosting ideas your pup will go crazy for!
Understanding Dog-Safe Ingredients
If you love baking for your furry friend, you know that homemade dog treats are more than just snacks—they’re a fun way to show your pup some love. And when it comes to making those treats extra special, a little frosting can go a long way. That’s where these Dog Cookie Frosting Recipes come in. They’re easy to make, dog-safe, and full of ingredients your pup will drool over. But before you start mixing, it’s important to understand which ingredients are healthy (and safe) for dogs.
Let’s take a look at a few of the most popular dog-friendly frosting ingredients and why they work so well.
Cornstarch: A Hard-Drying Helper
Cornstarch is a pantry staple that helps thicken and harden frostings. It’s commonly used to give dog cookie frostings that firm, matte finish that looks great and holds up well—especially if you’re decorating cookies for a special occasion. It’s safe in small amounts and works best when combined with other wet ingredients like yogurt or water.
Tapioca Starch: A Smooth Alternative
Not a fan of cornstarch? Tapioca starch is a great alternative. It creates a similar smooth texture and is just as easy to use. Some dogs even digest tapioca more easily, making it a gentle option for pups with sensitive stomachs.
Plain Greek Yogurt: Creamy and Probiotic-Rich
Greek yogurt is more than just a creamy base—it’s packed with probiotics that support your dog’s digestive health. When using yogurt in frosting, make sure it’s plain, unsweetened, and most importantly, free from xylitol, a sugar substitute that is extremely toxic to dogs. Greek yogurt gives frosting a silky texture and can be mixed with natural colorants or nut butters for added flair.
Peanut Butter: Every Dog’s Favorite
It’s no surprise that dogs go crazy for peanut butter. It adds richness, flavor, and a dose of healthy fats to frosting. Just be sure to use natural peanut butter with no added sugar, salt, or xylitol. It can be used on its own or mixed with yogurt or honey for a creamy glaze.
Honey: Natural Sweetness in Moderation
Honey can be used to lightly sweeten your frosting and help it set. It’s best used sparingly and only if your dog doesn’t have any health concerns, such as diabetes or weight issues. Always consult your vet before adding sweeteners to your dog’s diet.
With these dog-safe ingredients in your kitchen, you’re ready to explore a variety of Dog Cookie Frosting Recipes that are both tasty and healthy!
Top 3 Dog Frosting Recipes
Here are some dog-friendly frosting recipes to enhance your homemade treats:
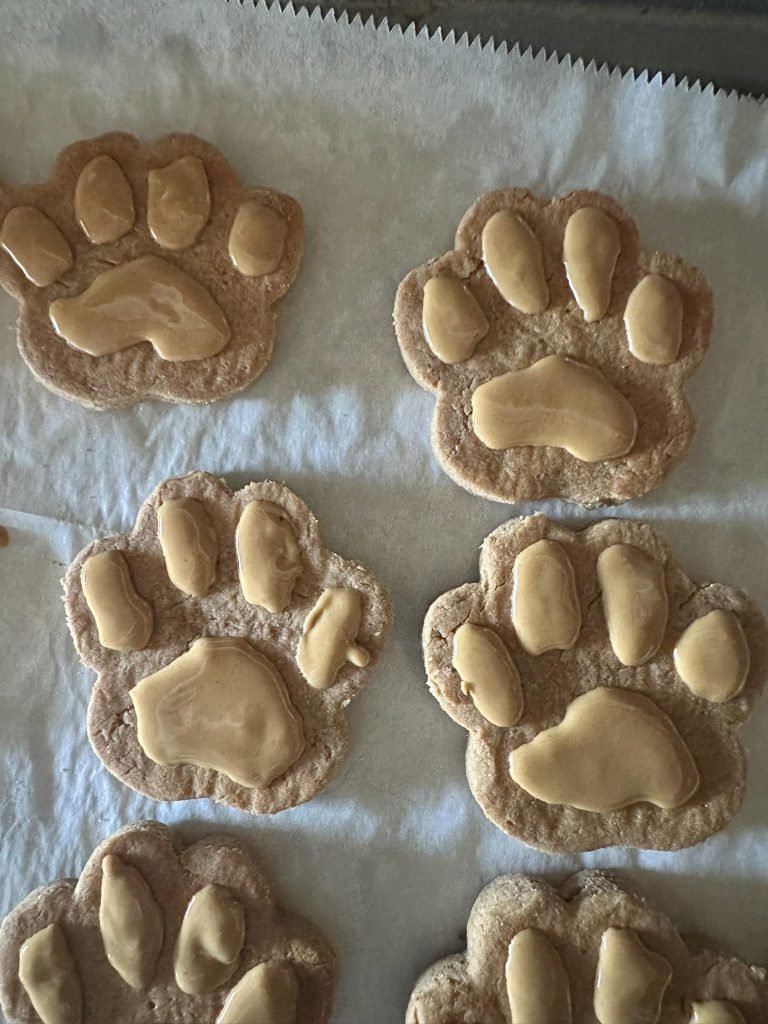
1. Peanut Butter and Honey Frosting
Looking for a simple and delicious way to top your homemade dog treats? This Peanut Butter and Honey Frosting Recipe for Dogs is a tried-and-true favorite. It’s thick, creamy, and packed with pup-approved flavors—plus, it’s made with dog-safe ingredients you probably already have in your pantry. Whether you’re decorating cookies for your dog’s birthday or just want to make their everyday treats feel special, this easy frosting is a great choice.
Let’s walk through the ingredients you’ll need and how to make it step by step.
Ingredients You’ll Need
This recipe keeps things simple with just a few wholesome ingredients. Here’s what you’ll need:
1/2 cup natural peanut butter
Choose a peanut butter that is unsweetened, unsalted, and free of xylitol—a sugar substitute that is toxic to dogs. Natural peanut butter (made with just peanuts) is the safest and healthiest option.
1 tablespoon honey
Honey adds a touch of natural sweetness that most dogs love. Use it sparingly, especially if your dog is on a low-sugar diet or has health issues. Always consult your vet if unsure.
1/4 cup plain Greek yogurt
This adds a creamy texture to the frosting and helps balance the thickness of the peanut butter. Make sure the yogurt is plain and unsweetened, with no added flavors or artificial sweeteners.
Optional: 1–2 teaspoons tapioca or cornstarch
If you want a thicker, pipeable frosting that holds its shape on cookies, you can mix in a bit of tapioca or cornstarch. This helps the frosting dry and firm up slightly.
Instructions: Step-by-Step Frosting Process
This frosting comes together quickly with no cooking required. Here’s how to make it:
Step 1: Combine the Base Ingredients
In a medium-sized mixing bowl, add the peanut butter, honey, and Greek yogurt. Use a spoon or spatula to mix until everything is fully combined. The mixture should be thick, creamy, and smooth.
Step 2: Adjust the Texture
Depending on your desired consistency, you can either use the frosting as-is or adjust it:
- If it’s too thick, add a tiny splash of water or a bit more yogurt (1 teaspoon at a time) until it’s spreadable.
- If it’s too thin and you want it thicker or pipeable, add 1–2 teaspoons of tapioca starch or cornstarch and stir well. Let it sit for a minute to thicken.
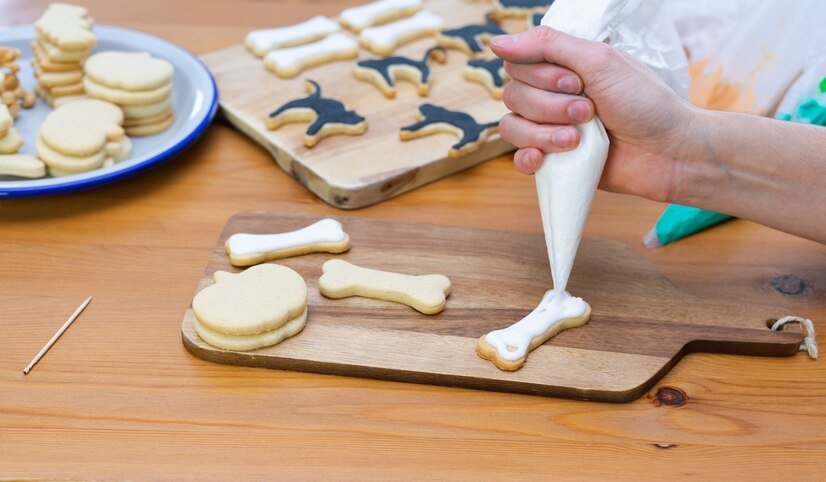
Step 3: Frost Your Dog Cookies
Once you’ve reached your desired texture, spread or pipe the frosting onto your cooled dog cookies. Use a spoon, spatula, or piping bag depending on how decorative you want to get.
If you’re planning to store the cookies, allow the frosting to set for a bit—though this recipe stays soft and creamy unless you’ve added starch to firm it up.
Step 4: Storage Tips
Store any leftover frosting in an airtight container in the refrigerator for up to 3–5 days. Stir before using again, as natural separation may occur.
Frosted cookies should be stored in the fridge if not eaten within a day or two, especially if you used yogurt in the recipe.
This Peanut Butter and Honey Frosting Recipe for Dogs is simple, nutritious, and totally dog-safe. It’s a fantastic way to add flavor and fun to your homemade treats without any harmful ingredients. Whether you’re baking for a holiday, a birthday, or just because—this frosting will make tails wag and tongues lick!
Ready to frost? Grab those cookies and let the decorating begin!
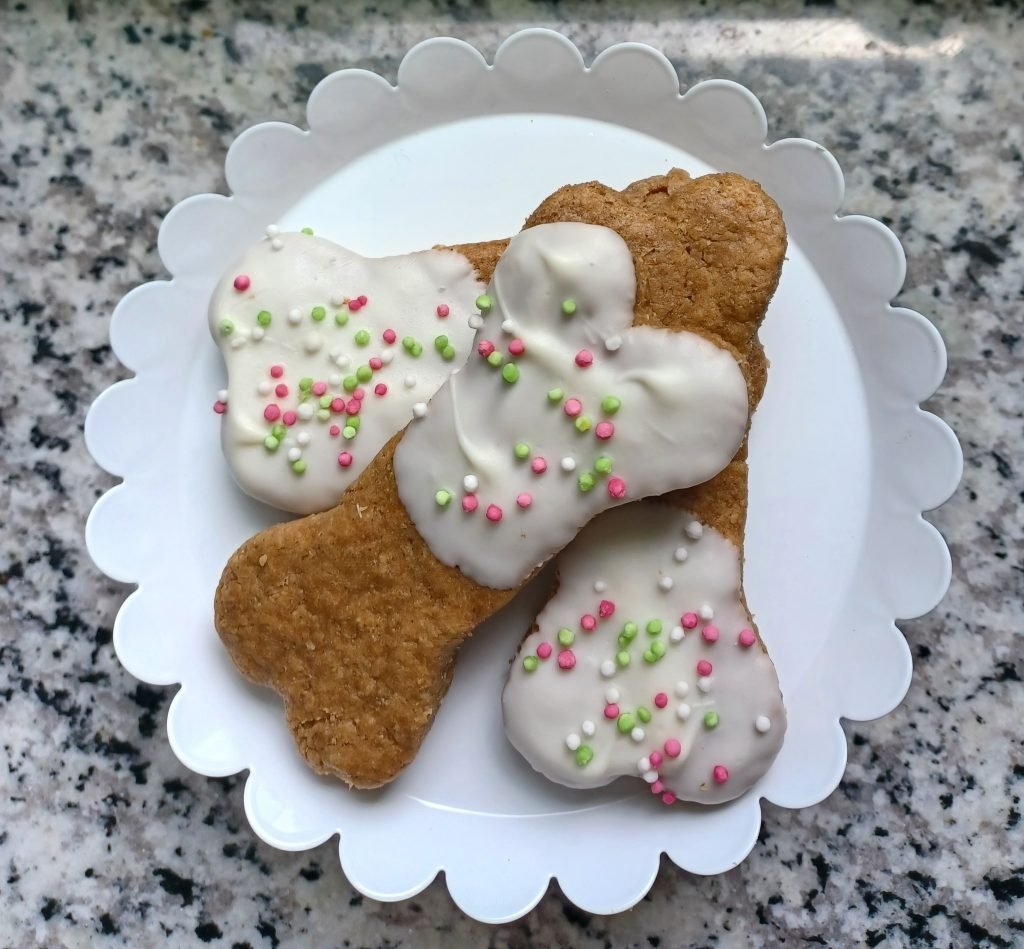
2. Yogurt and Tapioca Frosting
If you’re looking for a smooth, glossy, and dog-safe frosting that hardens nicely and looks great on homemade treats, this Yogurt and Tapioca Frosting Recipe for Dogs is a must-try. It’s made from simple ingredients that are safe for pups and offers a clean, bright finish that sets up well—perfect for decorating dog cookies or pupcakes.
This frosting is especially great if you want a white base to add natural colors or create a pretty presentation. Let’s walk through the ingredients and a step-by-step guide to getting that perfect consistency.
Ingredients You’ll Need
Here are the dog-friendly ingredients you’ll need for this frosting:
1/2 cup plain Greek yogurt
Use full-fat, plain Greek yogurt. It’s thick, creamy, and packed with probiotics. Make sure it’s unsweetened and contains no xylitol.
2 tablespoons tapioca starch
Tapioca starch helps create a smooth, slightly firm frosting that holds its shape. It’s an excellent thickener and safe for dogs in small amounts.
1 teaspoon honey (optional)
For a touch of sweetness, you can add a small amount of honey. This is entirely optional and should only be used if your dog tolerates it well.
1–2 teaspoons water or unsweetened coconut milk (optional)
To adjust consistency if needed, a small splash of liquid helps make the frosting easier to spread or pipe.
Instructions: Step-by-Step Frosting Process
This recipe is quick, easy, and doesn’t require any cooking or special equipment. Here’s how to make it:
Step 1: Choose the Right Yogurt
Start by ensuring your Greek yogurt is plain, full-fat, and xylitol-free. If there’s any liquid sitting on top (whey), drain it off or stir it in, depending on your desired texture.
Step 2: Add the Tapioca Starch
In a mixing bowl, add the 2 tablespoons of tapioca starch to the 1/2 cup of yogurt. Stir slowly at first, then increase speed to blend thoroughly. The starch will begin to thicken the yogurt almost immediately.
Step 3: Add Honey (Optional)
If you want a slightly sweet finish, mix in 1 teaspoon of honey. This also helps the frosting develop a nice gloss, especially if you’re applying it with a piping bag or spatula. If your dog is sensitive to sugars or has dietary restrictions, feel free to skip this step.
Step 4: Adjust the Consistency
Your mixture should now be thick and creamy. If it’s too stiff to work with, add 1 teaspoon of water or unsweetened coconut milk at a time, stirring until you get a smooth, spreadable or pipeable consistency.
Want a thicker frosting that hardens slightly? Add an extra half tablespoon of tapioca starch and let it sit for 5–10 minutes to firm up before use.
Step 5: Frost Your Dog Treats
Make sure your dog cookies or treats are completely cool before frosting. Spread the yogurt-tapioca mixture using a spatula, butter knife, or piping bag with a decorative tip.
The frosting will firm up slightly as it sits but may remain soft if not exposed to air. If you’re decorating a batch of cookies for gifting or storage, let the frosting air-dry for several hours at room temperature or refrigerate for quicker setting.
Step 6: Let It Set (Optional)
For a firmer texture, especially if you added more starch, allow the frosted treats to air dry for 1–2 hours. You can also place them in the fridge for 30–60 minutes to help the frosting firm up faster.
Step 7: Store Extras Properly
Store leftover frosting in an airtight container in the refrigerator for up to 3–4 days. Stir well before reusing, as natural separation may occur.
Frosted cookies should also be kept in the fridge, especially if you added yogurt or honey. They’ll stay fresh for about 3–5 days.
This Yogurt and Tapioca Frosting Recipe for Dogs is light, smooth, and versatile—ideal for everything from everyday treats to special occasions. It’s not only pretty to look at but also gentle on your dog’s tummy, thanks to the natural, dog-safe ingredients.
Whether you use it plain or mix in natural food coloring like beet powder or turmeric, this frosting makes your homemade dog treats feel bakery-worthy. Time to grab your spatula and start decorating—your pup will be sitting pretty in no time!
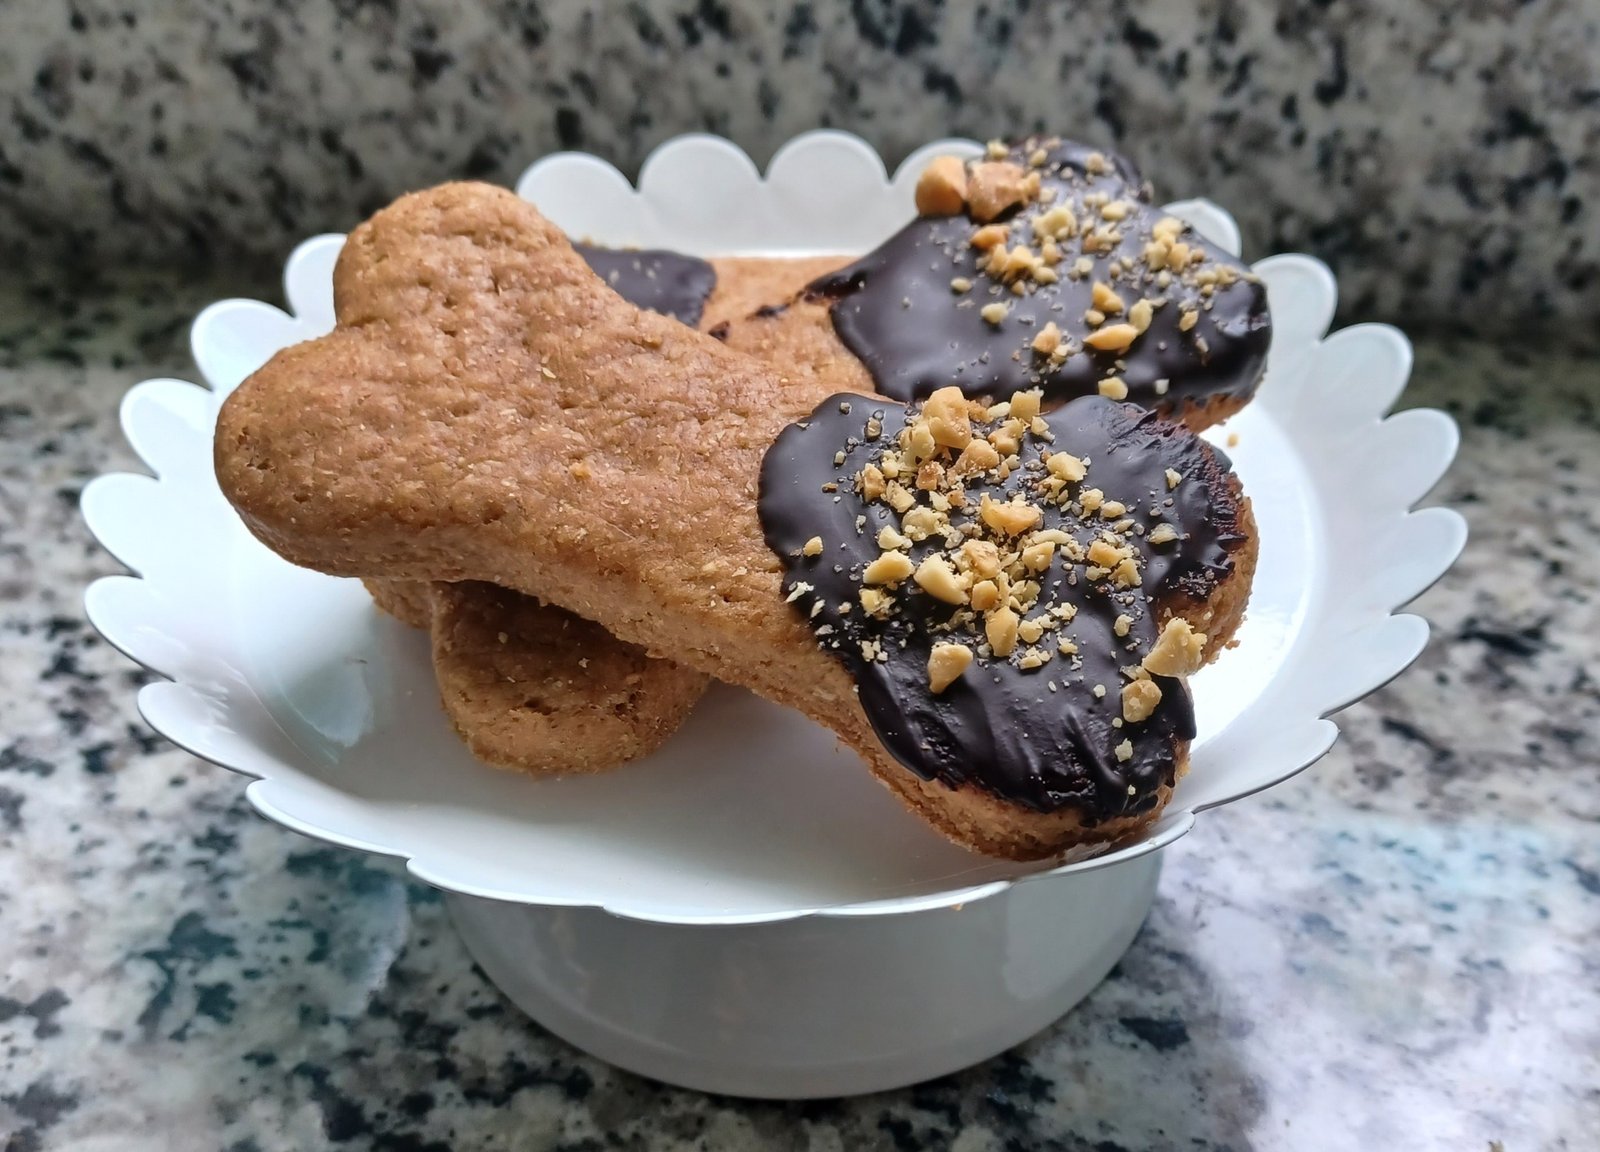
3. Carob Frosting (Chocolate Alternative)
Love the look of chocolate frosting but want to keep it dog-safe? Enter carob—a naturally sweet, caffeine-free alternative that gives your pup’s treats a rich, dark look without any harmful ingredients. This Carob Frosting (Chocolate Alternative) Recipe for Dogs is not only safe but also super tasty, making it a perfect choice for decorating birthday cookies, dog cakes, or homemade biscuits.
Carob is often used in dog-friendly baking as a substitute for chocolate, which contains theobromine and caffeine—both toxic to dogs. Let’s explore how to make a smooth, spreadable carob frosting that your furry friend will love.
Ingredients You’ll Need
Here’s what you’ll need to whip up this dog-safe carob frosting:
1/4 cup carob powder
Use unsweetened carob powder, available at most health food stores or online. It has a naturally sweet, chocolate-like flavor but is completely safe for dogs.
1/2 cup plain Greek yogurt
Greek yogurt provides a creamy base and is packed with probiotics. Make sure it’s unsweetened and free from xylitol or artificial flavors.
1 tablespoon honey
This adds a gentle sweetness and helps the frosting develop a smooth, shiny texture. Optional for dogs with sugar restrictions—consult your vet if unsure.
1–2 tablespoons tapioca starch or cornstarch
For thickening and helping the frosting hold its shape. Tapioca starch is gentler on digestion, but both work well.
1–2 teaspoons water or unsweetened coconut milk (optional)
To thin out the mixture if needed.
Instructions: Step-by-Step Frosting Process
This dog-friendly frosting comes together in just a few easy steps. Here’s how to make it:
Step 1: Combine the Yogurt and Carob Powder
In a medium mixing bowl, add the plain Greek yogurt and carob powder. Stir slowly at first to prevent the powder from flying, then mix more vigorously until fully combined. The mixture should look rich and chocolatey in color.
Step 2: Add the Honey
Mix in 1 tablespoon of honey for sweetness and shine. This step is optional but adds a smooth texture and flavor dogs tend to love. If your dog is diabetic or sensitive to sugars, skip this step or consult your vet.
Step 3: Stir in the Starch
Add 1 to 2 tablespoons of tapioca starch or cornstarch, one tablespoon at a time, stirring thoroughly after each addition. This helps thicken the frosting and gives it a firmer consistency that holds up on cookies or cakes.
If you plan to pipe the frosting or want it to dry with a slightly firm surface, use the full 2 tablespoons.
Step 4: Adjust Texture as Needed
Depending on your desired consistency:
- If the frosting is too thick, add 1 teaspoon of water or coconut milk at a time until you reach a spreadable or pipeable texture.
- If it’s too thin, add a bit more starch and let the frosting rest for 5–10 minutes to thicken naturally.
Step 5: Frost the Treats
Ensure your dog cookies or treats are completely cool before applying the frosting. Use a spoon, butter knife, or piping bag to decorate.
This frosting can be used for smooth spreads or fun designs—it holds up well, especially if chilled after decorating.
Step 6: Let It Set
Once frosted, let the cookies sit out for 1–2 hours at room temperature to allow the frosting to dry slightly. For quicker results or firmer texture, refrigerate the frosted treats for about 30–60 minutes.
Step 7: Store Extras Properly
Leftover carob frosting can be stored in the fridge in an airtight container for up to 3–4 days. Stir before reusing. Frosted treats should also be refrigerated and consumed within 3–5 days.
This Carob Frosting (Chocolate Alternative) Recipe for Dogs is perfect for adding that classic chocolatey look—without any risk to your pup’s health. It’s creamy, easy to work with, and made entirely from dog-safe ingredients. Whether you’re baking for a special occasion or just want to spoil your furry friend, this frosting will definitely earn a few tail wags.
Frequently Asked Questions
What Is the Best Frosting for Dog Cookies?
The best frosting for dog cookies is one made with dog-safe ingredients like plain Greek yogurt, peanut butter, carob powder, and tapioca starch. These ingredients are safe, nutritious, and offer a variety of textures and flavors your dog will enjoy. For a firmer finish, tapioca or cornstarch helps the frosting harden slightly, making it great for decorative treats.
Can You Use Regular Icing on Dog Treats?
No, regular icing made for humans is not safe for dogs. It often contains harmful ingredients like xylitol, artificial sweeteners, and high amounts of sugar, which can be dangerous or even toxic to dogs. Always stick with recipes made specifically for dogs using simple, safe ingredients.
Is Peanut Butter Frosting Safe for Dogs?
Yes, peanut butter frosting is safe for dogs as long as the peanut butter does not contain xylitol, salt, or added sugar. Choose natural or unsweetened peanut butter. When combined with yogurt or a thickener like cornstarch, it creates a creamy and flavorful frosting dogs love.
How Can You Make Frosting That Hardens for Dog Cookies?
To make frosting that hardens, use ingredients like tapioca starch, cornstarch, or a thick Greek yogurt base. These help the frosting dry and set after a few hours. Let the frosted treats air-dry at room temperature or refrigerate them to speed up the process and improve the texture.
How Long Does Homemade Dog Frosting Last?
Homemade dog frosting typically lasts 3 to 5 days in the refrigerator. Store it in an airtight container to keep it fresh. If you’ve already applied it to dog treats, keep those refrigerated as well and use them within the same time frame for best results and safety.
Can You Freeze Dog Cookies With Frosting?
Yes, you can freeze dog cookies with frosting. Make sure the frosting is fully set before freezing to avoid smearing or cracking. Store the treats in a single layer in a freezer-safe container or bag. They’ll last up to 2 months frozen and can be thawed in the fridge when ready to serve.
Is Carob Frosting Safe for Dogs Instead of Chocolate?
Carob frosting is a safe and healthy substitute for chocolate, which is toxic to dogs. Carob has a naturally sweet, chocolate-like flavor without the harmful theobromine or caffeine. It works well in frostings and adds a rich color and taste that your dog will enjoy.
Can You Add Food Coloring to Dog Frosting?
Yes, but only if you’re using natural, dog-safe food colorings. Avoid artificial dyes. You can use ingredients like beet powder (pink/red), turmeric (yellow), or spirulina (green) for a fun and safe way to color frosting. Always test in small amounts to ensure your dog tolerates them well.
Final Thoughts
Creating your own dog cookie frosting recipes is a fun and rewarding way to spoil your furry friend with homemade treats that are both safe and tasty. From creamy peanut butter blends to smooth yogurt-based frostings and rich carob alternatives, there’s a dog-friendly option for every occasion.
By using simple, wholesome ingredients like Greek yogurt, tapioca starch, and unsweetened peanut butter, you can avoid harmful additives and ensure each treat is gentle on your pup’s stomach.
Whether you’re celebrating a special milestone or just adding a little extra love to their snacks, homemade frosting lets you get creative while keeping your dog’s health in mind. Don’t forget to let the frosting set properly and store leftovers safely for future use.
With these easy recipes, your dog’s treats will not only look irresistible—they’ll taste amazing too.