

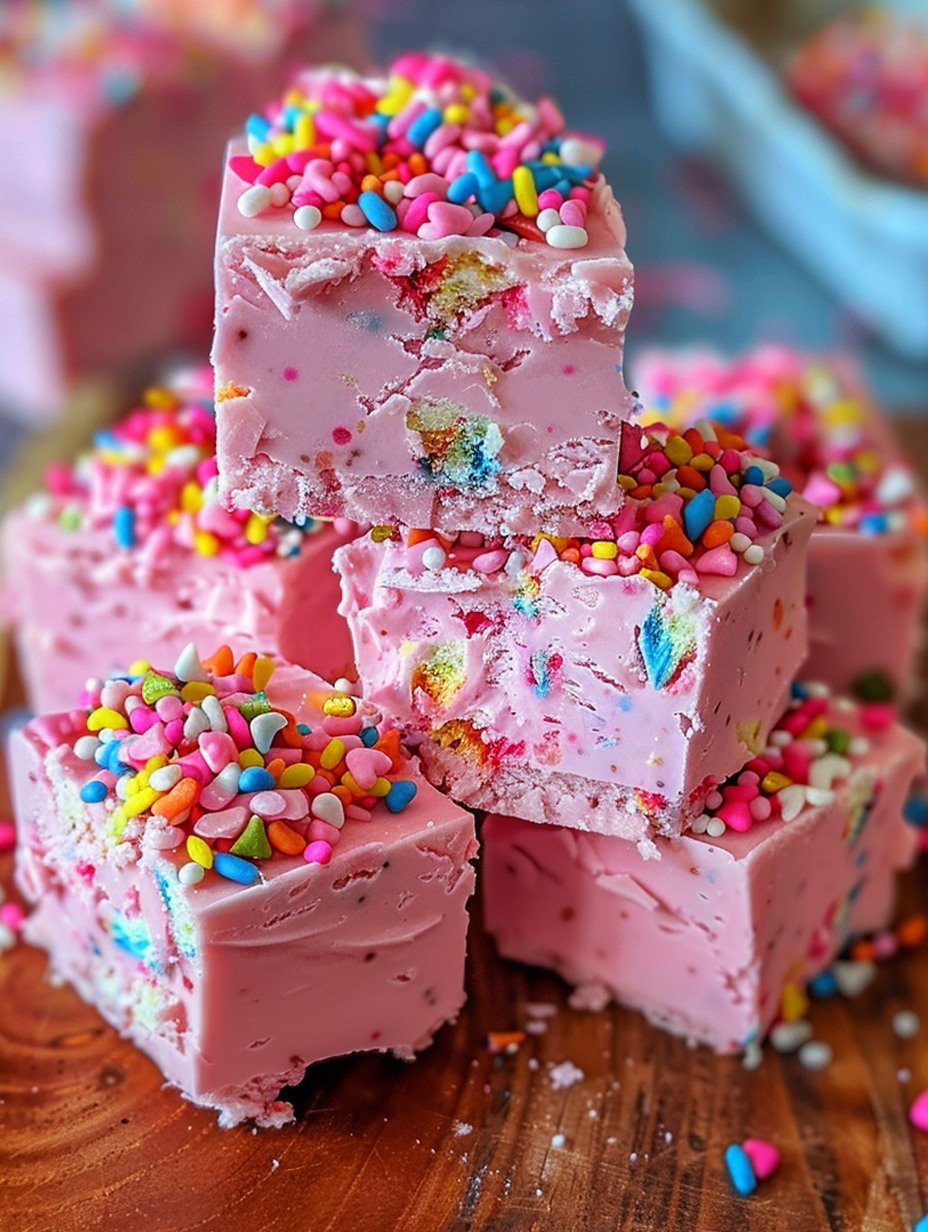
If you’re looking for a fun, sweet treat that’s as pretty as it is delicious, you’ll love this Bubblegum Cloud Fudge Recipe. It’s the perfect dessert to brighten up birthday parties, baby showers, or any day you’re craving something a little whimsical. With its soft pastel colors and melt-in-your-mouth texture, this fudge tastes like a dreamy mix of bubblegum candy and smooth, creamy goodness.
What makes this Bubblegum Cloud Fudge Recipe so special is how simple it is to make. You only need a few basic ingredients and no fancy equipment. In no time, you’ll have a colorful, cloud-like fudge that’s guaranteed to be a hit with kids and adults alike. Whether you’re making it for a special event or just because, this recipe delivers both charm and flavor in every bite. Get ready to fall in love with this fun, nostalgic treat!
Ingredients Needed
Before you dive into making this sweet and fluffy treat, let’s go over everything you’ll need for this Bubblegum Cloud Fudge Recipe. The best part about this recipe is how simple and fuss-free the ingredients are — most of them you might already have in your pantry. Each ingredient works together to give the fudge its creamy texture, light pastel colors, and signature bubblegum flavor that makes it such a standout dessert.
Sweetened Condensed Milk
This ingredient is the heart of the fudge, giving it a rich, creamy texture and perfect sweetness. It blends smoothly with the other ingredients and helps everything set beautifully.
White Chocolate Chips
White chocolate chips melt down to create the perfect base for the fudge. They’re mild in flavor, which makes them a great canvas for the bubblegum essence and the pretty pastel swirls.
Bubblegum Flavoring
You can usually find bubblegum flavoring online or in specialty baking stores. It gives this Bubblegum Cloud Fudge Recipe its nostalgic candy-shop taste. A little goes a long way, so start with a small amount and adjust to your liking.
Food Coloring
To get that cloud-like, dreamy appearance, you’ll need a few drops of food coloring. Soft pastel shades like baby pink, sky blue, and pale purple work best. You can mix and swirl them together for a fun, marbled effect.
Sprinkles (Optional)
While not a must, sprinkles add a fun, festive touch to your fudge. Choose pastel-colored sprinkles or edible glitter to match the soft, playful vibe of the dessert.
Butter
A small amount of butter helps to smooth out the texture of the fudge and gives it a rich, silky finish. It also prevents the mixture from becoming too sticky as it sets.
With these simple ingredients on hand, you’re all set to create a batch of soft, colorful, and nostalgic Bubblegum Cloud Fudge that’s sure to steal the spotlight at any gathering.
Tools and Equipment
Now that you’ve gathered all your ingredients, it’s time to round up the tools and equipment you’ll need to make this Bubblegum Cloud Fudge Recipe. The good news is you won’t need any complicated gadgets or professional baking tools — just a few everyday kitchen essentials to help you whip up this dreamy treat.
Mixing Bowls
You’ll need at least one medium-sized mixing bowl to combine your ingredients. If you’re planning to use multiple food coloring shades for that cloud-like swirl, having a few extra small bowls on hand will make it easier to separate and tint your fudge mixture.
Saucepan
A small to medium saucepan is necessary for melting the white chocolate chips and sweetened condensed milk together. Choose one with a heavy bottom to help prevent the mixture from burning or sticking as it heats.
Silicone Spatula
A silicone spatula is perfect for stirring your fudge mixture smoothly and scraping down the sides of your bowl or pan. It also makes it easier to swirl the different colored portions together without overmixing.
8×8-Inch Baking Dish
This is the ideal size for setting your Bubblegum Cloud Fudge Recipe. Line the dish with parchment paper, leaving a little overhang on the sides so you can easily lift the fudge out once it’s set and ready to cut.
Measuring Cups and Spoons
Accuracy matters in candy-making, so reliable measuring cups and spoons will help you portion out your ingredients precisely, ensuring your fudge has the perfect texture and flavor every time.
Step-by-Step Instructions to Make Bubblegum Cloud Fudge
Ready to whip up a batch of sweet, colorful fudge that tastes just like your favorite childhood bubblegum? This Bubblegum Cloud Fudge Recipe is easy to follow and perfect for beginners or experienced candy makers alike. Let’s walk through the simple steps to create this fluffy, cloud-like treat at home.
Step 1: Prepare Your Baking Dish
Start by lining an 8×8-inch baking dish with parchment paper, leaving a bit of overhang on the sides. This will make it much easier to lift the fudge out once it’s set. Lightly spray the paper with non-stick cooking spray or rub a little butter on it to prevent sticking.
Step 2: Melt the White Chocolate and Sweetened Condensed Milk
In a medium saucepan, combine the white chocolate chips and sweetened condensed milk. Place the saucepan over low heat, stirring continuously with a silicone spatula. Be patient and keep the heat low to avoid burning the chocolate. Stir until the mixture is completely smooth and creamy.
Step 3: Add Bubblegum Flavoring
Once the white chocolate and condensed milk mixture is melted and smooth, remove it from the heat. Stir in a few drops of bubblegum flavoring. Start with a small amount — about ½ teaspoon — and adjust to taste. Mix well to evenly distribute the flavor throughout the fudge base.
Step 4: Divide and Color the Fudge
If you’d like to create a swirled, pastel cloud effect, divide the fudge mixture evenly into a few small bowls. Add a drop or two of different food coloring shades into each bowl, like soft pink, baby blue, and pale purple. Stir each one gently until the color is fully blended.
Step 5: Layer and Swirl the Colors
Spoon dollops of the different colored fudge mixtures into your prepared baking dish, placing them randomly next to each other. Once all the fudge is in the dish, use a clean toothpick or butter knife to gently swirl the colors together. Don’t overmix — you want distinct, pretty swirls that give it a cloud-like appearance.
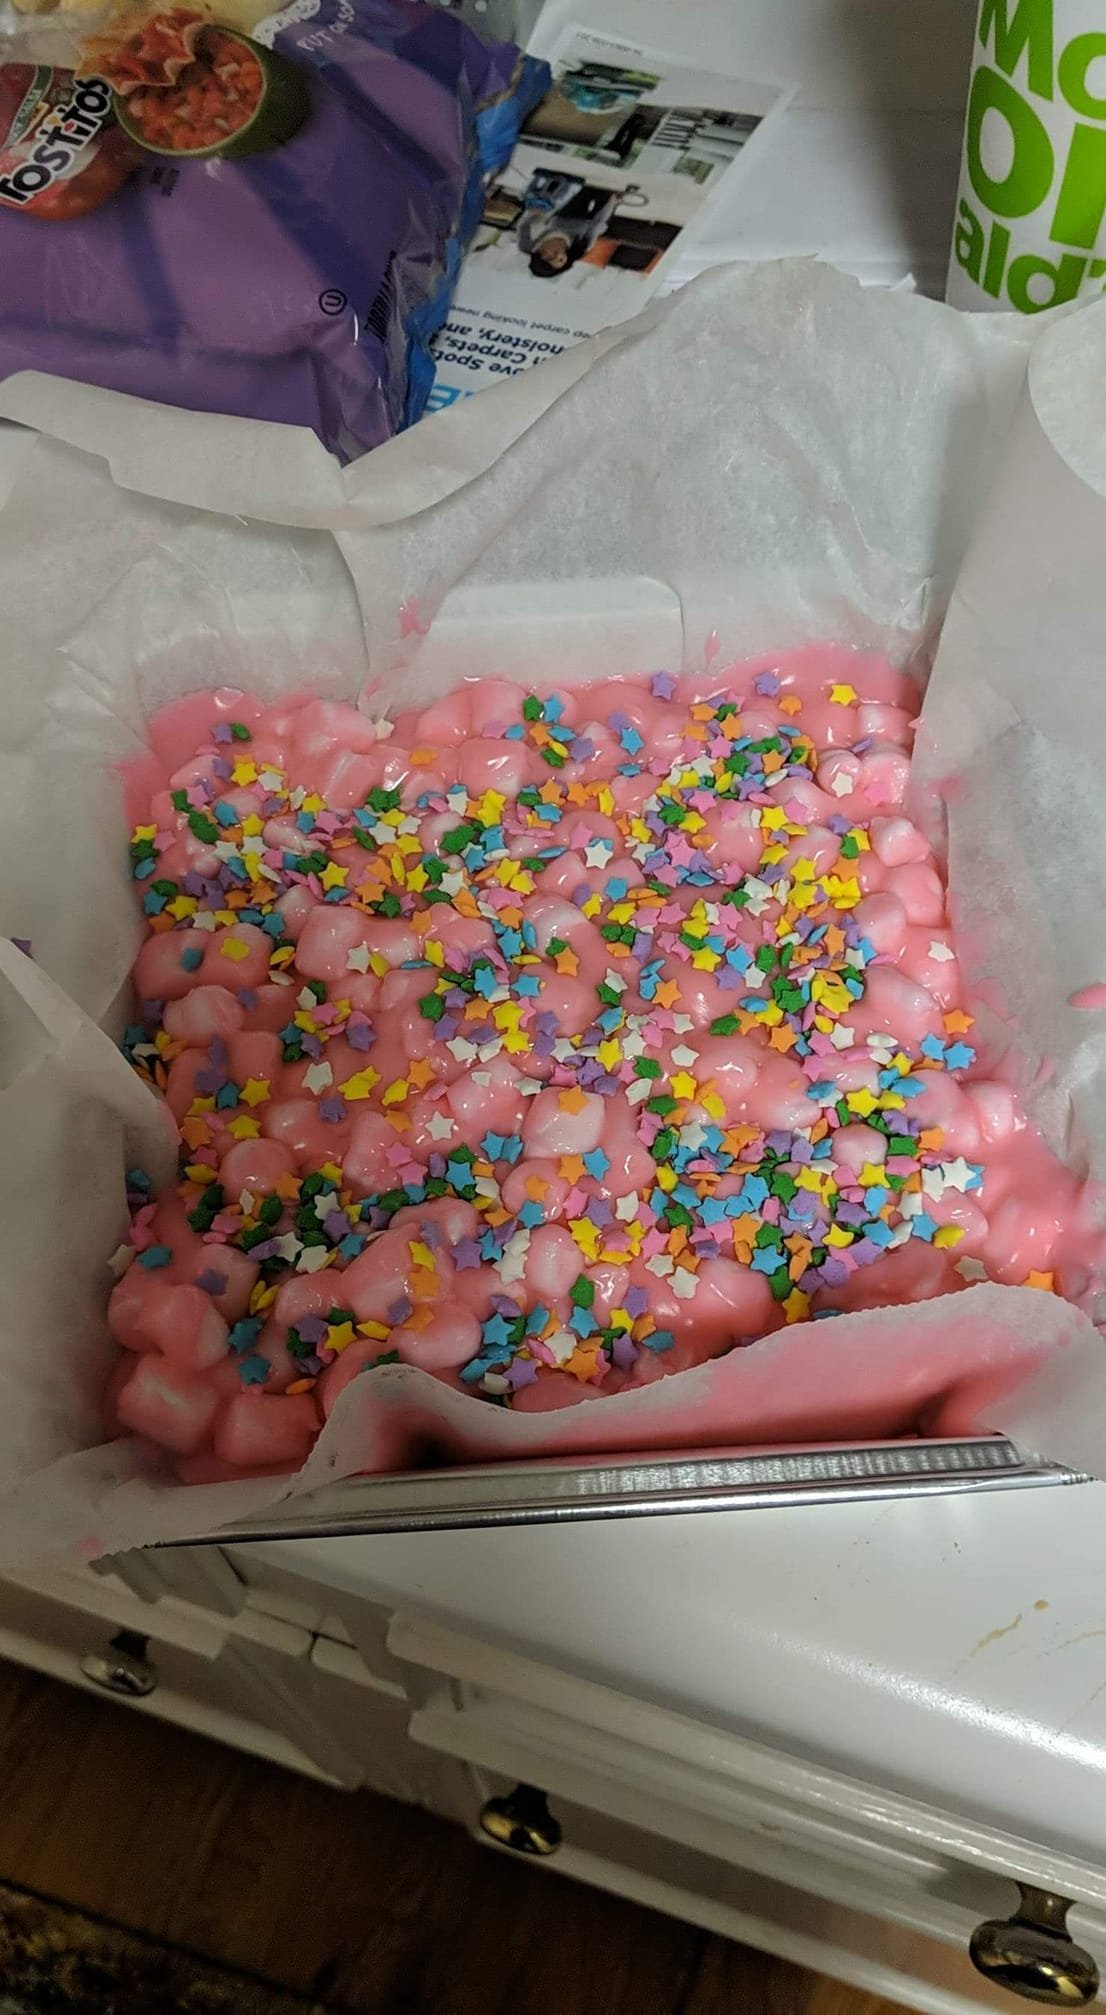
Step 6: Add Sprinkles (Optional)
If you’d like to dress up your Bubblegum Cloud Fudge Recipe even more, sprinkle some pastel-colored sprinkles or edible glitter over the top before it sets. This adds a fun, festive touch that makes your fudge extra eye-catching.
Step 7: Chill Until Firm
Place the baking dish in the refrigerator and let the fudge chill for at least 3–4 hours, or until it’s completely firm. For the best results, leave it overnight so it’s perfectly set and easy to slice.
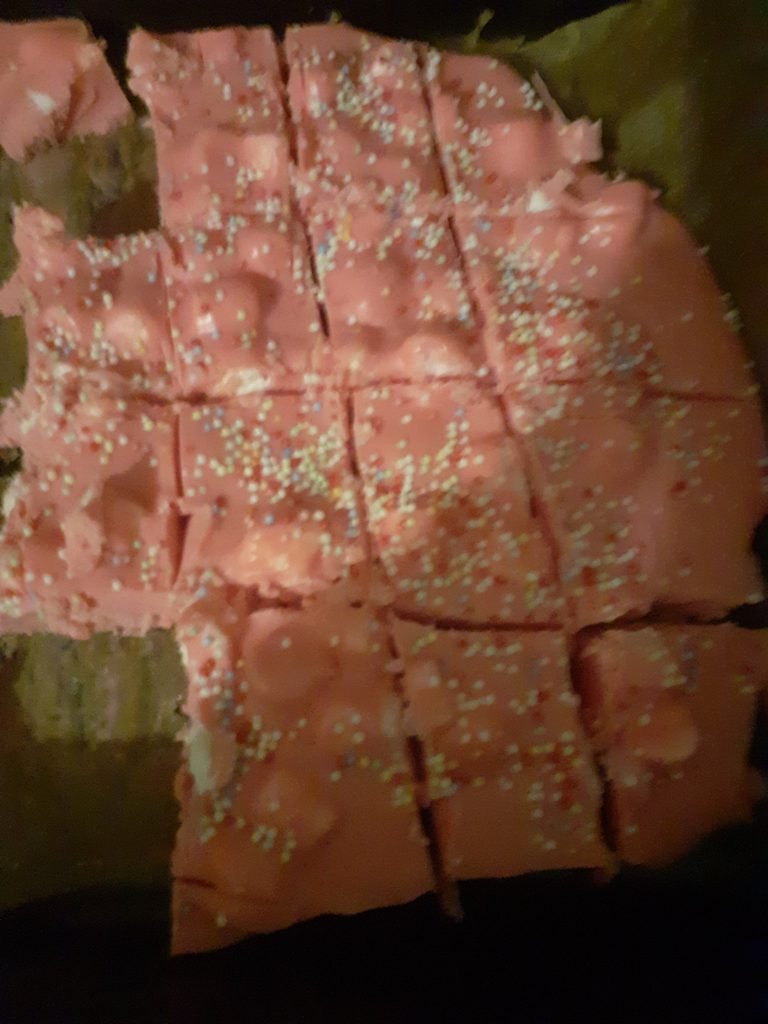
Step 8: Slice and Serve
Once your fudge has fully set, lift it out of the dish using the parchment paper overhang. Place it on a cutting board and use a sharp knife to cut it into small squares. Wipe the knife clean between cuts to keep your pastel swirls neat and crisp.
Tips for Perfect Bubblegum Fudge
Making this Bubblegum Cloud Fudge Recipe is easy and fun, but a few handy tips can help ensure your fudge turns out smooth, colorful, and full of that nostalgic bubblegum flavor. Whether you’re a beginner or a seasoned fudge maker, these simple suggestions will help you get the best results every time.
Use High-Quality White Chocolate
The quality of your white chocolate makes a huge difference in the texture and flavor of your fudge. Choose white chocolate chips or bars from a trusted brand that melts smoothly and evenly. Cheaper options can sometimes turn grainy when melted, which affects the final texture of your fudge.
Don’t Skip the Parchment Paper
Lining your baking dish with parchment paper isn’t just for easy cleanup — it makes lifting the fudge out of the pan a breeze once it’s fully set. Make sure to leave a little overhang on the sides so you can grab and lift the entire block out for easy slicing.
Work Quickly with Food Coloring
Once your fudge mixture is smooth and divided for coloring, move fast. The mixture can start to set quickly as it cools. Add your food coloring drops and swirl them in without overmixing to keep those beautiful, cloud-like patterns intact.
Chill Until Completely Firm
Patience is key when making this Bubblegum Cloud Fudge Recipe. Let the fudge chill in the refrigerator for at least 3–4 hours or until it’s completely firm. Rushing this step can lead to soft, sticky fudge that’s difficult to slice cleanly.
Adjust Bubblegum Flavoring Carefully
Bubblegum flavoring is strong, so start with a small amount and taste as you go. It’s always easier to add a little more than to fix a batch that’s too overpowering. You want a sweet, nostalgic bubblegum taste that complements the white chocolate, not one that overwhelms it.
Clean Your Knife Between Slices
When it’s time to cut your fudge, use a sharp knife and wipe it clean between each slice. This keeps your pieces neat and helps maintain those pretty pastel swirls without smudging the colors together.
Creative Variations to Try
One of the best things about this Bubblegum Cloud Fudge Recipe is how easy it is to customize. With just a few tweaks, you can create fun new flavors, colors, and textures that match any occasion or personal preference. If you love experimenting in the kitchen, here are a few creative variations you can try the next time you make this playful treat.
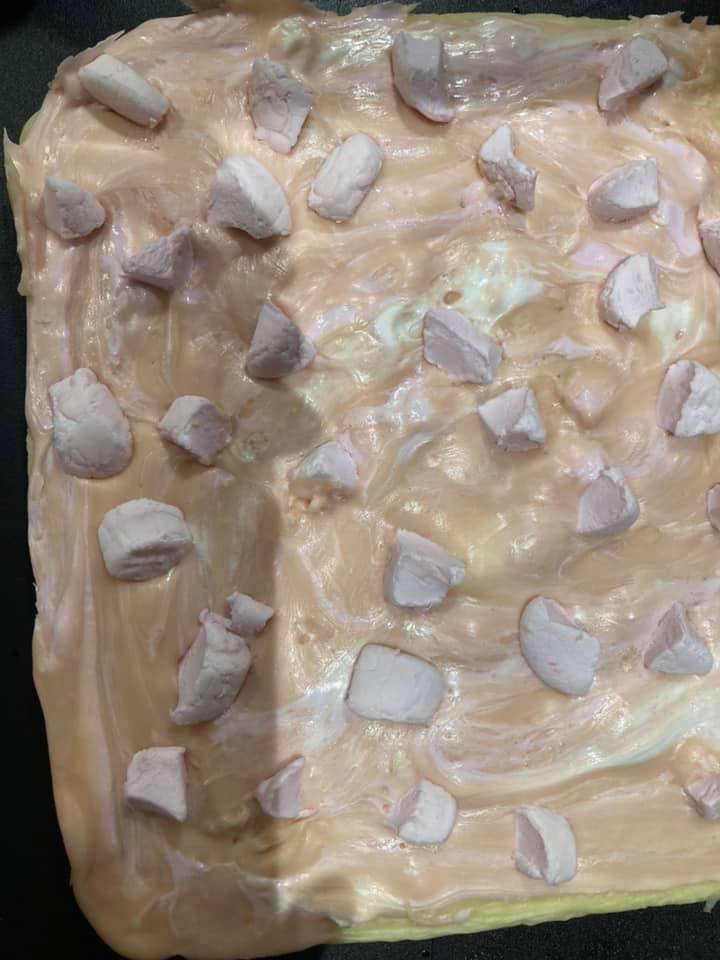
Add Mini Marshmallows
For extra fluffiness and a chewy surprise in every bite, stir a handful of mini marshmallows into the fudge mixture right before pouring it into the baking dish. They’ll add a light, airy texture that pairs perfectly with the cloud-like look and bubblegum flavor of the fudge.
Mix in Candy Bits
If you want to give your fudge a bit of crunch and extra sweetness, mix in chopped candy pieces like rainbow sprinkles, pastel M&M’s, or crushed bubblegum candies. Not only does this add texture, but it also makes the fudge even more colorful and festive, especially for birthday parties or baby showers.
Try Different Flavors
While bubblegum is the star of this Bubblegum Cloud Fudge Recipe, you can easily swap it out for other nostalgic flavors like cotton candy, strawberry, or even vanilla almond. Just replace the bubblegum flavoring with your favorite extract and adjust the coloring to match. This is a great way to customize the fudge for different holidays or party themes.
Use Themed Food Coloring
Get creative with your color choices to match the season or event. Use pastel pink and blue for baby showers, red and green for Christmas, or bright neon colors for a summer birthday party. The soft swirls are so easy to adjust, making this fudge recipe one of the most versatile and fun desserts you can make.
How to Store and Serve
Once your batch of sweet, colorful fudge is ready, knowing how to properly store and serve it will help keep it tasting fresh and looking its best. This Bubblegum Cloud Fudge Recipe holds up well when stored correctly, making it perfect for preparing ahead for parties, gifts, or just to have a fun treat on hand when a craving hits.
Storing at Room Temperature
If you plan to enjoy your fudge within a day or two, you can store it at room temperature. Place the fudge pieces in an airtight container, separating layers with parchment paper to keep them from sticking together. Keep the container in a cool, dry spot away from direct sunlight and heat, which can cause the fudge to soften too much or melt.
Keeping It in the Refrigerator
For longer storage, the refrigerator is your best option. This will help the fudge stay firm and fresh for up to a week. Place the cut pieces in an airtight container with parchment paper between layers to maintain the texture and prevent color transfer. Before serving, let the fudge sit at room temperature for about 10–15 minutes so it softens slightly for the perfect creamy bite.
Freezing for Later
If you’ve made a large batch or want to save some for a future occasion, you can freeze this Bubblegum Cloud Fudge Recipe. Wrap individual pieces tightly in plastic wrap, then place them in a freezer-safe container or zip-top bag. The fudge can be frozen for up to two months. When you’re ready to enjoy it, let the fudge thaw in the refrigerator overnight, then bring it to room temperature before serving.
Serving Suggestions
When it comes time to serve your fudge, use a sharp knife to cut it into small, even squares or rectangles. Wipe the blade clean between cuts to keep those pastel swirls looking neat and bright. Serve the fudge on a pretty dessert platter or wrap individual pieces in clear candy wrappers or small treat bags for party favors, gifts, or holiday treats. It’s a guaranteed way to brighten up any dessert table!
Frequently Asked Questions
What Is Bubblegum Cloud Fudge Made Of?
Bubblegum Cloud Fudge is made with a simple combination of white chocolate chips, sweetened condensed milk, bubblegum flavoring, and food coloring. Some versions also include extras like sprinkles or mini marshmallows for added texture and decoration. The white chocolate and condensed milk melt together to form a smooth, creamy base, while the bubblegum flavoring gives it that nostalgic candy-shop taste. Swirls of pastel colors give this fudge its dreamy, cloud-like look that makes it perfect for parties and fun gatherings.
Can You Use Regular Chocolate Instead Of White Chocolate For This Recipe?
It’s best to stick with white chocolate for this Bubblegum Cloud Fudge Recipe because regular milk or dark chocolate has a stronger flavor and darker color, which won’t mix well with the delicate bubblegum taste and pastel swirls. White chocolate has a mild, sweet flavor and light color that works perfectly as a canvas for both the bubblegum flavor and colorful cloud patterns.
How Long Does Bubblegum Cloud Fudge Last?
When stored properly in an airtight container, Bubblegum Cloud Fudge will last about 3 to 4 days at room temperature and up to a week in the refrigerator. If you’d like to keep it for longer, you can freeze individual pieces wrapped tightly in plastic wrap and stored in a freezer-safe bag for up to two months. Just let it thaw in the fridge overnight and bring it to room temperature before serving for the best texture and flavor.
Do You Need A Candy Thermometer To Make Bubblegum Cloud Fudge?
No candy thermometer is needed for this recipe, which makes it perfect for beginners and quick, no-fuss dessert making. Since the fudge base is made by gently melting white chocolate chips with sweetened condensed milk over low heat, you don’t have to monitor specific temperatures like traditional fudge recipes. Just make sure to stir constantly and melt everything smoothly for the best result.
Can You Make Bubblegum Cloud Fudge Ahead Of Time For A Party?
Yes, you can definitely make Bubblegum Cloud Fudge ahead of time. In fact, it’s a great make-ahead dessert since it needs a few hours in the fridge to set completely. You can prepare it a day or two in advance, store it in the refrigerator in an airtight container, and cut it into squares just before serving. This way, you’ll have a colorful, nostalgic treat ready to impress your guests without last-minute stress.
Final Thoughts
And there you have it — a fun, colorful, and nostalgic treat that’s as easy to make as it is to enjoy. This Bubblegum Cloud Fudge Recipe brings together creamy white chocolate, sweet bubblegum flavor, and soft pastel swirls for a dessert that’s perfect for birthdays, baby showers, or just a playful afternoon snack.
With simple ingredients and no complicated steps, it’s a beginner-friendly recipe you’ll want to make again and again. Don’t forget to try some creative variations and customize the colors to match any celebration. However you choose to serve it, this fudge is guaranteed to be a cheerful, crowd-pleasing favorite. Give it a try and brighten up your next dessert table!