The Best Fluffy Pancakes recipe you will fall in love with. Full of tips and tricks to help you make the best pancakes.
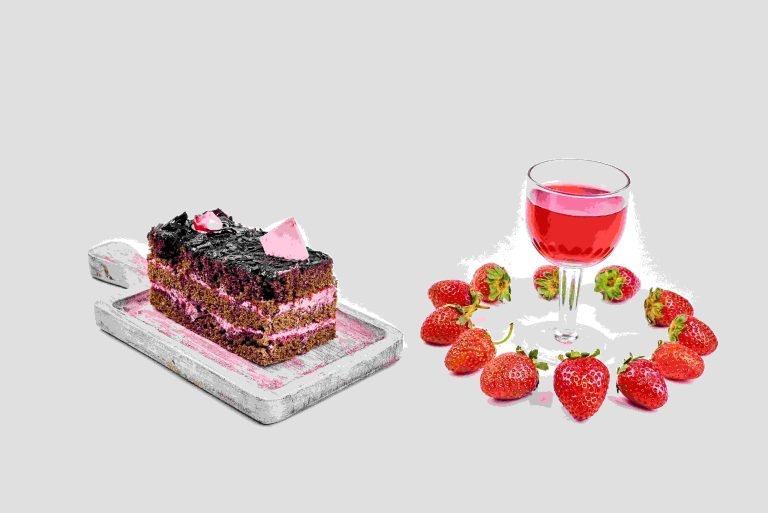
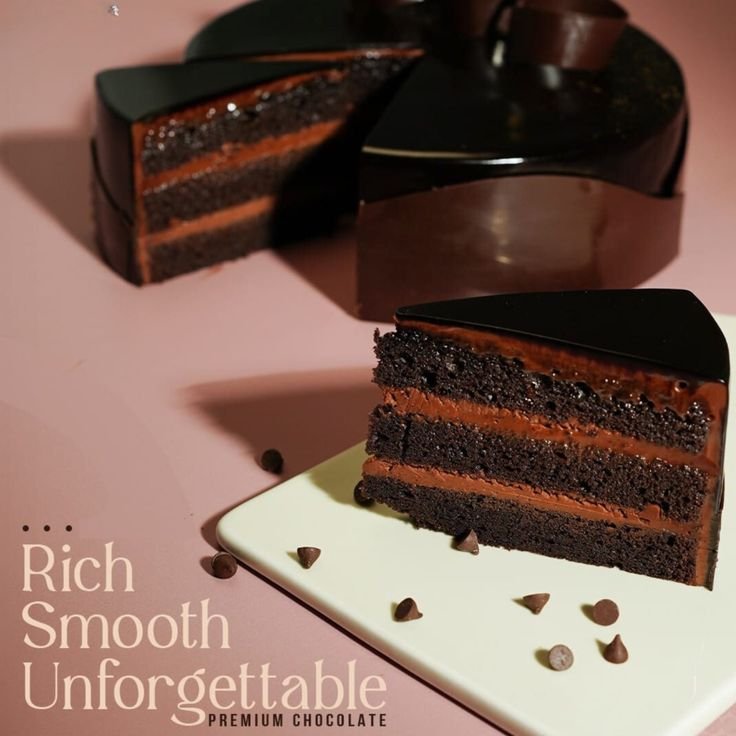
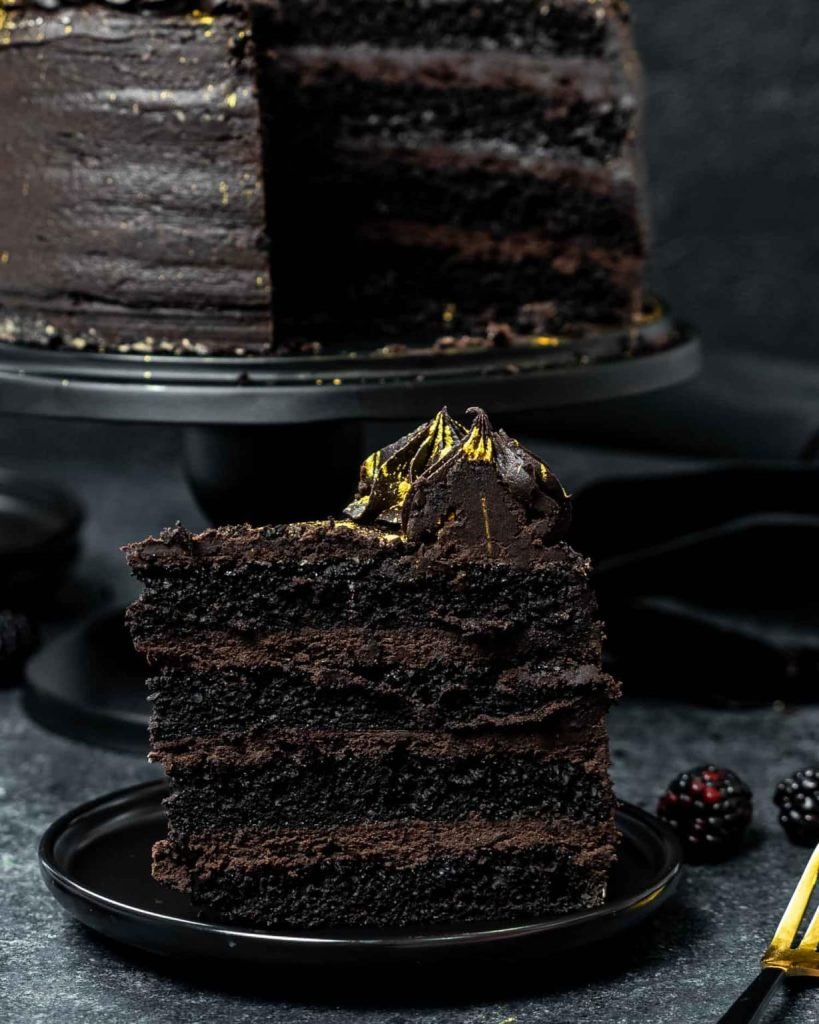
If you’re looking for a dessert that’s rich, dramatic, and absolutely unforgettable, then this Black Velvet Cake recipe might just be your new favorite. Unlike the classic red velvet, black velvet cake takes the decadence up a notch with its deep, dark color and incredibly moist, tender crumb.
It has the same smooth texture and slight tanginess from buttermilk that velvet cakes are known for, but with a bolder, chocolate-forward flavor that makes it truly stand out. Whether you’re planning a special celebration or just craving something luxurious and indulgent, this cake delivers both in taste and appearance.
The best part? It’s surprisingly simple to make at home with everyday ingredients. Once you try this black velvet cake recipe, you’ll want to bring it out for birthdays, holidays, or whenever you want to wow your guests with something elegant and different. It’s a showstopper in every bite.
Ingredients

When preparing a Black Velvet Cake, choosing the right ingredients is essential to get that luxurious texture, rich flavor, and signature deep color. Below is a breakdown of each component you’ll need for this indulgent dessert.
All-Purpose Flour
Use plain all-purpose flour for structure and softness. It provides the perfect balance for a tender yet stable crumb. Sift the flour before mixing to avoid lumps and achieve a smooth batter.
Unsweetened Cocoa Powder
This is where the dark richness comes in. Opt for high-quality unsweetened cocoa powder—Dutch-processed works best for a smoother, more intense chocolate flavor. It also contributes to the cake’s dark appearance when combined with black food coloring.
Baking Soda and Baking Powder
You’ll need both leavening agents to help the cake rise evenly. Baking soda reacts with the acidic buttermilk, while baking powder offers additional lift. This combination ensures a light, moist texture.
Buttermilk
Buttermilk gives the cake its signature velvet texture and subtle tang. The acidity not only enhances flavor but also helps tenderize the gluten, making each bite soft and rich. If you don’t have buttermilk, you can make a substitute using milk and vinegar or lemon juice.
Eggs
Eggs bind the ingredients and add moisture and richness. Make sure they are at room temperature for better incorporation into the batter, which leads to a smoother texture.
Sugar
Granulated sugar sweetens the cake while helping it stay soft and moist. Creaming the sugar with butter or oil also adds lightness and airiness to the final texture.
Oil or Butter
Many black velvet cake recipes use oil for added moisture. However, if you prefer a slightly denser cake with rich flavor, unsalted butter can be used. You can even do a mix of both depending on your taste.
Vanilla Extract
A splash of vanilla enhances the overall flavor and complements the chocolate beautifully. Pure vanilla extract is recommended for the best results.
Black Gel Food Coloring
To achieve that dramatic, dark finish, black gel food coloring is a must. It’s more concentrated than liquid food coloring and won’t alter the batter’s consistency. Add it slowly until you reach your desired shade.
Salt
A small amount of salt balances the sweetness and enhances the richness of the chocolate and other flavors.
Equipment Needed

Creating a stunning Black Velvet Cake isn’t just about the ingredients—it’s also about having the right tools on hand. The equipment you use can make a big difference in how your cake turns out, from texture to presentation. Here’s a breakdown of the essential tools you’ll need to bring your black velvet masterpiece to life.
Mixing Bowls
You’ll need at least two large mixing bowls—one for wet ingredients and one for dry. If possible, use bowls with a non-slip base to make mixing easier. Having separate bowls helps ensure the ingredients are well incorporated without overmixing, which can affect the cake’s texture.
Electric Mixer or Stand Mixer
An electric hand mixer or a stand mixer is a huge time-saver. It ensures thorough creaming of the butter (or oil) and sugar and helps incorporate air into the batter, which leads to a lighter, fluffier cake. If you’re using a stand mixer, the paddle attachment works best for cake batter.
Measuring Cups and Spoons
Accurate measurement is key to a successful bake. Dry ingredients should be measured using dry measuring cups, while liquid ingredients are best measured in clear, liquid measuring cups. Don’t forget measuring spoons for smaller quantities like baking powder, salt, or vanilla extract.
Sifter or Fine Mesh Strainer
To avoid lumps and ensure an even texture, it’s a good idea to sift your dry ingredients—especially the cocoa powder and flour. This step helps aerate the mix and prevents clumping, which is essential for that smooth velvet crumb.
Rubber Spatula
A rubber spatula is handy for scraping down the sides of your mixing bowls and ensuring you don’t leave any valuable batter behind. It’s also gentle enough to fold ingredients without deflating the mix.
Cake Pans
Two 8-inch or 9-inch round cake pans work best for this recipe. Make sure they’re non-stick or line them with parchment paper to avoid sticking. Greasing the pans and adding a dusting of cocoa powder also helps release the cakes easily.
Cooling Rack
Once your cakes are out of the oven, transferring them to a wire cooling rack helps prevent sogginess and keeps the texture just right. Letting the cakes cool completely before frosting is key for a clean, professional finish.
Step-by-Step Instructions

Making a Black Velvet Cake may look dramatic and luxurious, but the steps are quite straightforward. With the right method and a little patience, you’ll create a beautifully rich cake that’s moist, tender, and packed with deep chocolate flavor. Follow this detailed guide to bake your cake to perfection.
Step 1: Preheat the Oven and Prepare the Pans
Start by preheating your oven to 350°F (175°C). While it heats, prepare two 8-inch or 9-inch round cake pans. Lightly grease each with butter or cooking spray, then line the bottoms with parchment paper. You can also dust the pans with cocoa powder instead of flour to maintain the rich dark color and prevent sticking.
Step 2: Sift and Combine Dry Ingredients
In a large mixing bowl, sift together the all-purpose flour, unsweetened cocoa powder, baking soda, baking powder, and salt. This step is crucial for removing lumps and adding air to the mixture, which helps create a light, even cake texture.
Step 3: Mix the Wet Ingredients
In another large bowl, combine the granulated sugar and oil (or softened butter). Beat until well mixed. Add the eggs one at a time, beating well after each addition. Once combined, stir in the vanilla extract and buttermilk. Make sure all ingredients are at room temperature for best results. Mix until the batter is smooth and creamy.
Step 4: Add the Black Food Coloring
To get that signature dramatic look, add black gel food coloring gradually to the wet mixture. Start with a small amount and increase until you achieve a deep, rich black hue. Gel food coloring is preferred over liquid because it provides a more concentrated color without thinning the batter.
Step 5: Combine Wet and Dry Mixtures
Slowly add the dry ingredients into the wet mixture in batches. Use a spatula or a low-speed mixer to fold everything together gently. Be careful not to overmix, as this can result in a dense cake. Just stir until you see no streaks of flour.
Step 6: Pour Batter into Cake Pans
Divide the batter evenly between your prepared cake pans. Use a spatula to smooth the tops for an even rise. Lightly tap the pans on the counter to remove any trapped air bubbles.
Step 7: Bake the Cakes
Place the pans in the preheated oven and bake for 30–35 minutes, or until a toothpick inserted in the center comes out clean. Avoid opening the oven door too often to prevent the cakes from sinking. Once done, remove from the oven and let the cakes cool in the pans for about 10 minutes.
Step 8: Cool Completely
After the initial cooling time, carefully remove the cakes from the pans and place them on a wire rack. Let them cool completely before applying any frosting. This ensures your frosting won’t melt and slide off the cake.
Step 9: Frost and Assemble
Once fully cooled, frost the cake with your favorite icing. Cream cheese frosting works wonderfully with black velvet cake, providing a tangy contrast to the rich chocolate flavor. Place one cake layer on a serving plate, spread frosting over the top, then stack the second layer. Finish by frosting the sides and top. Decorate with chocolate shavings or a dusting of cocoa powder if desired.
Tips for the Perfect Black Velvet Cake

Creating the perfect Black Velvet Cake takes more than just a good recipe—it’s all about technique, attention to detail, and a few insider tips to ensure your cake turns out rich, moist, and beautifully dark every time. Whether you’re a beginner or a seasoned baker, these tips will help you elevate your baking game.
Use Room Temperature Ingredients
One of the most important tips for a consistent batter is using ingredients like eggs, buttermilk, and butter at room temperature. This allows them to combine more easily, resulting in a smoother batter and a more even bake. Cold ingredients can cause the batter to seize or mix unevenly.
Choose High-Quality Cocoa Powder
The deep, chocolatey flavor of Black Velvet Cake relies heavily on the cocoa you use. Opt for a high-quality unsweetened cocoa powder—preferably Dutch-processed—for a smoother and richer taste. Avoid cocoa mixes with added sugar or dairy.
Don’t Overmix the Batter
It’s tempting to keep mixing until everything looks perfectly uniform, but overmixing can lead to a dense, dry cake. Once you add the dry ingredients to the wet mixture, stir gently just until no streaks of flour remain. This keeps your cake soft and tender.
Gel Food Coloring Works Best
To achieve that deep black color without affecting the texture of your cake, use gel-based food coloring instead of liquid. Gel colors are more concentrated and won’t dilute your batter. Start small and build the color gradually until it’s as dark as you’d like.
Use Buttermilk for Moisture and Tang
Buttermilk is key in creating that velvety texture and subtle tang that sets Black Velvet Cake apart. It reacts with baking soda to help the cake rise and stay moist. If you don’t have buttermilk on hand, you can make a substitute by adding a tablespoon of vinegar or lemon juice to a cup of milk.
Let the Cake Cool Completely Before Frosting
Rushing to frost a warm cake can result in a melted mess. Allow the cake layers to cool fully on a wire rack before applying any frosting. This ensures a clean, smooth finish and prevents your frosting from sliding off.
Variations and Serving Ideas

The Black Velvet Cake is already a showstopper with its dark, rich color and smooth, chocolaty taste, but that doesn’t mean you can’t play around with flavors and presentation. Whether you want to switch things up for a holiday dessert or simply enjoy the cake in a new way, these variations and serving ideas will help you get creative in the kitchen.
Flavor Variations to Try
You can infuse the classic Black Velvet Cake with different flavors to suit the season or your personal preference. For a mocha twist, add a teaspoon of espresso powder to the dry ingredients—this deepens the chocolate flavor and adds a coffee undertone. Orange zest is another great addition, especially if you’re baking around the holidays. It provides a citrusy brightness that contrasts nicely with the dark cocoa. For a spicy kick, try adding a dash of cinnamon or cayenne pepper to the batter.
Alternative Frosting Ideas
While cream cheese frosting is a traditional favorite, you’re not limited to just one option. A dark chocolate ganache adds even more richness and drama to the cake. Buttercream, flavored with vanilla or almond extract, can provide a sweet and smooth contrast. For a lighter take, try whipped mascarpone or even a fluffy marshmallow frosting that adds a fun texture and look. Each frosting option gives the cake a slightly different vibe, so choose one based on the occasion or your craving.
Mini Cakes and Cupcakes
Black Velvet Cake doesn’t always have to be a layered masterpiece. Turn the recipe into cupcakes for a party-friendly treat or bake it in mini cake pans for personal-sized desserts. Cupcakes are especially handy for gatherings and can be decorated individually with different frostings, sprinkles, or fruit garnishes. You can also bake the batter in a bundt pan for a beautiful and elegant presentation that’s easy to slice and serve.
Elegant Serving Suggestions
Serve slices of Black Velvet Cake with a dollop of whipped cream and a few fresh berries for contrast and color. A drizzle of raspberry or cherry sauce adds tartness and flair. For a dessert plate that really impresses, pair it with a scoop of vanilla or coffee ice cream and a sprinkle of dark chocolate shavings. If you’re serving it after dinner, a hot cup of coffee or a glass of red wine complements the rich flavors beautifully.
Storage and Make-Ahead Tips
Proper storage and smart planning can make your Black Velvet Cake even more enjoyable and convenient. Whether you’re preparing it for a special event or want to keep leftovers fresh, knowing how to store and make the cake ahead of time ensures you get the best flavor and texture every time.
Storing at Room Temperature
If you plan to enjoy your Black Velvet Cake within a day or two, storing it at room temperature is perfectly fine. Make sure the cake is completely cooled and frosted before covering it. Use a cake dome or an airtight container to keep it fresh and to protect it from dust and air exposure. Keep the cake in a cool, dry spot—away from direct sunlight or heat.
Refrigerating for Longer Freshness
For longer storage, especially if your frosting includes cream cheese or whipped cream, refrigerate the cake. Wrap the cake or individual slices in plastic wrap to prevent them from drying out, then place them in an airtight container. Refrigerated cake stays fresh for up to 4–5 days. Before serving, let the cake sit at room temperature for about 30 minutes to soften and regain its texture.
Freezing for Extended Storage
Black Velvet Cake freezes beautifully, which makes it perfect for making ahead of time. You can freeze unfrosted cake layers or fully frosted cakes. For unfrosted layers, wrap each layer tightly in plastic wrap and then in aluminum foil before placing them in the freezer. For frosted cakes, freeze the entire cake for 1–2 hours uncovered to harden the frosting, then wrap and store as described. Cakes can be frozen for up to 2 months.
Making the Cake Ahead of Time
If you’re baking for an event or holiday, you can easily make your cake ahead of time. Bake the cake layers a day or two early, wrap them tightly, and store them in the refrigerator. You can also prepare your frosting in advance and refrigerate it in an airtight container. Let the frosting come to room temperature and re-whip it slightly before using for the best texture.
Best Way to Serve After Storing
Whether refrigerated or frozen, always allow your cake to return to room temperature before serving. This helps the texture soften and the flavors shine. A quick garnish with fresh berries or chocolate shavings can revive the presentation after storage.
Frequently Asked Questions
What Makes Black Velvet Cake Different from Red Velvet Cake?
Black Velvet Cake uses dark or black cocoa powder instead of the traditional red food coloring found in Red Velvet Cake. This gives it a deeper, richer chocolate flavor and a striking dark appearance. While both cakes share a soft, velvety texture due to the use of buttermilk and vinegar, the Black Velvet version is less sweet and more intense in chocolate taste, making it ideal for true chocolate lovers.
Can You Make Black Velvet Cake Without Food Coloring?
Yes, you can absolutely make Black Velvet Cake without using any food coloring. The rich black hue comes from using dark cocoa powder, such as Dutch-processed or black cocoa. These types of cocoa naturally produce a deep color, so there’s no need to add artificial dyes unless you want an even bolder shade.
What Type of Frosting Pairs Best With Black Velvet Cake?
Cream cheese frosting is a classic and flavorful choice that pairs beautifully with Black Velvet Cake. Its slight tanginess complements the rich chocolate base. You can also try mascarpone frosting, whipped ganache, or a classic vanilla buttercream for a different flavor profile. For a striking visual contrast, white frostings are ideal against the dark cake.
How Do You Keep Black Velvet Cake Moist?
To keep your Black Velvet Cake moist, use ingredients like buttermilk and oil in your batter, which help retain moisture during baking. Avoid overbaking—check the cake a few minutes before the recommended time. Once baked, allow the cake to cool completely before wrapping it tightly in plastic wrap if storing. This traps moisture and prevents it from drying out.
Can You Make Black Velvet Cake in Advance?
Yes, Black Velvet Cake is an excellent make-ahead dessert. You can bake the cake layers a day or two in advance and refrigerate them wrapped in plastic wrap. You can also freeze the unfrosted layers for up to two months. Frost the cake on the day you plan to serve it for the best presentation and freshness. Let refrigerated or frozen cake come to room temperature before serving for optimal texture.
Conclusion
Black Velvet Cake is a bold and elegant twist on a classic favorite, offering a rich chocolate flavor and a stunning dark color that’s sure to impress. Whether you’re baking it for a special celebration or simply to satisfy a chocolate craving, this recipe delivers a moist, tender cake with a velvety texture that’s hard to resist.
With the right ingredients, helpful tips, and a little creativity, you can easily bring this bakery-worthy dessert to life in your own kitchen. From luscious cream cheese frosting to unique variations, there’s plenty of room to make it your own. Once you try this Black Velvet Cake recipe, it might just become your new go-to chocolate indulgence.

