

Making a Perfect Black Forest Cake is a delightful journey that brings together rich chocolate, fresh cherries, and fluffy whipped cream in one unforgettable dessert. Whether you’re baking for a special occasion or simply craving a classic treat, mastering this cake is easier than it seems.
The key lies in balancing the layers—moist chocolate sponge, sweet cherry filling, and creamy frosting—so every bite melts in your mouth. In this introduction, we’ll explore simple tips and essential steps that help you create a bakery-quality Black Forest Cake right at home.
From selecting the right ingredients to decorating with cherries and chocolate shavings, you’ll learn how to impress family and friends with your baking skills. If you’ve ever wondered how to nail the perfect combination of flavors and textures, this guide to Making a Perfect Black Forest Cake will set you on the right path. Ready to get started? Let’s dive in and bake something truly special.

Ingredients Needed
To create a perfect Black Forest Cake, gathering the right ingredients is the first step. Each ingredient contributes to the cake’s rich taste and classic texture.
Chocolate Sponge Cake Ingredients
For the cake base, you’ll need all-purpose flour to give structure, cocoa powder for deep chocolate flavor, and baking powder plus baking soda to help it rise nicely. Sugar adds sweetness and moisture, while eggs bind everything together and provide lift. Butter or oil keeps the cake moist, and milk or buttermilk adds softness and richness to the batter.
Cherry Filling and Whipped Cream Ingredients
The filling requires fresh or canned cherries, which bring the signature fruity taste. Cherry syrup or kirsch, a cherry-flavored brandy, is used to soak the cake layers, enhancing flavor and moisture. Heavy whipping cream whipped with powdered sugar makes the luscious frosting that balances the tartness of the cherries perfectly.
Decoration Ingredients
To finish the cake beautifully, chocolate shavings or curls add texture and extra chocolate goodness. Whole cherries are also used for garnish, giving the cake its classic and inviting look.
Equipment Required
Having the right tools makes Making a Perfect Black Forest Cake much easier and ensures great results. Here’s a list of essential equipment you’ll need.
Baking Tools
A good quality round cake pan is a must for shaping the classic layers of the Black Forest Cake. You’ll also need an oven that can maintain a consistent temperature for even baking. Using a mixing bowl and an electric mixer or stand mixer will help you whip the batter and cream smoothly. Don’t forget a cooling rack to let your cake layers cool evenly without getting soggy.
Preparation Tools
To prepare the cherry filling and soak the cake layers, a small saucepan is helpful for warming cherry syrup or kirsch. A spatula is essential for folding whipped cream and spreading frosting evenly between layers and on top of the cake. For a neat finish, a cake turntable is handy but optional.
Decoration Tools
For decorating, a vegetable peeler or grater works perfectly to create chocolate shavings or curls. You’ll also need a knife to slice the cake layers cleanly.
Step-by-Step Instructions for Making Black Forest Cake
Making a Perfect Black Forest Cake might seem intimidating at first, but by breaking down the process into clear steps, you can bake this classic dessert with confidence. From baking the chocolate sponge to assembling the layers with cherries and whipped cream, here’s a detailed guide to help you create a stunning and delicious cake.
Step 1: Prepare the Chocolate Sponge Cake
Start by preheating your oven to 350°F (175°C). Grease and flour two 8-inch round cake pans to prevent sticking. In a large mixing bowl, sift together 1 and 3/4 cups of all-purpose flour, 3/4 cup of cocoa powder, 1 and 1/2 teaspoons baking powder, and 1 and 1/2 teaspoons baking soda. This ensures your cake is light and airy.
In another bowl, beat 2 eggs with 1 and 1/2 cups of sugar until light and fluffy. Add 1 cup of buttermilk, 1/2 cup of melted butter or oil, and 1 teaspoon vanilla extract, mixing well. Gradually add the dry ingredients into the wet ingredients, alternating with the milk, and mix until smooth.
Divide the batter evenly between the two pans. Bake for about 30-35 minutes or until a toothpick inserted into the center comes out clean. Once baked, remove the cakes and let them cool completely on a wire rack.
Step 2: Prepare the Cherry Filling and Whipped Cream
While the cake cools, prepare the cherry filling. If you’re using canned cherries, drain them but save the syrup. Warm about 1/2 cup of cherry syrup (or cherry juice) in a saucepan with 2 tablespoons of sugar and 2 tablespoons of kirsch (optional) until it simmers. Set this aside to cool.
Next, whip 2 cups of heavy cream with 1/4 cup of powdered sugar until soft peaks form. Be careful not to overwhip, or the cream will become grainy. The whipped cream is what makes the Black Forest Cake light and creamy.
Step 3: Assemble the Cake Layers
Once your chocolate sponge cakes are completely cooled, level the tops with a serrated knife if they’ve domed. Carefully slice each cake horizontally into two layers so you end up with four thin layers.
Place the first layer on your cake plate or stand. Using a pastry brush, lightly soak the cake layer with the cherry syrup mixture to keep it moist and flavorful. Spread a generous layer of whipped cream over the soaked cake, then scatter a handful of cherries on top.
Repeat the process with the second and third layers: soak, spread whipped cream, and add cherries. Place the final cake layer on top and soak it lightly as well.
Step 4: Frost and Decorate the Cake
Now it’s time to cover the entire cake with the remaining whipped cream. Use an offset spatula or the back of a spoon to spread the cream evenly around the sides and top of the cake. Smooth the surface for a clean finish.
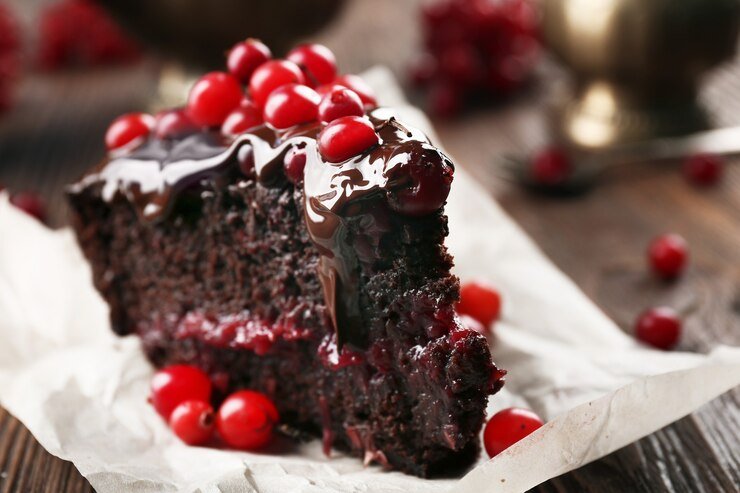
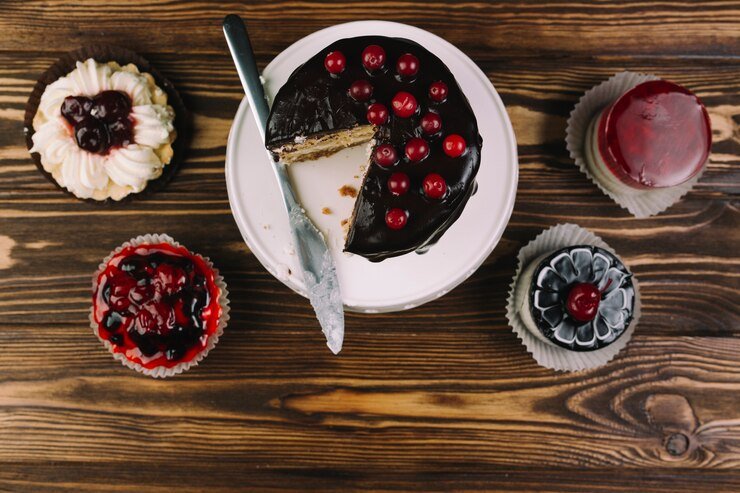
For the classic Black Forest look, decorate the cake with chocolate shavings or curls on top and around the edges. Use a vegetable peeler on a block of dark chocolate to create beautiful curls. Finally, place whole cherries on top as garnish for a striking presentation.
Step 5: Chill and Serve
Refrigerate your cake for at least 2 hours before serving. This resting time allows the flavors to meld and the whipped cream to set perfectly. When ready to serve, slice carefully with a sharp knife and enjoy the rich layers of chocolate, cherries, and cream in every bite.
Tips for the Perfect Black Forest Cake
Making a Perfect Black Forest Cake takes a bit of practice, but these tips will help you get it just right every time.
Choose Quality Ingredients
Start with the best-quality cocoa powder and fresh cherries you can find. Real kirsch (cherry brandy) adds authentic flavor, but if you prefer non-alcoholic, cherry syrup works great too. Fresh heavy cream whipped just right makes all the difference in texture and taste.
Don’t Overbake the Cake
Keep a close eye on your chocolate sponge while baking. Overbaking can dry out the cake, making it harder to soak and less tender. Check doneness with a toothpick a few minutes before the timer goes off.
Properly Soak the Cake Layers
Soaking the cake layers with cherry syrup or kirsch is key to keeping the cake moist and flavorful. Use a pastry brush to apply the liquid evenly but don’t oversaturate, or the layers might become soggy.
Whip Cream to Soft Peaks
Whip the heavy cream just until soft peaks form. Overwhipping can turn it grainy or even into butter. Soft peaks give you that light, fluffy texture perfect for spreading and decorating.
Chill Before Serving
Let your cake chill in the refrigerator for at least two hours. This helps the flavors meld together and the cream to set beautifully for clean slices and a stunning presentation.
Variations of Black Forest Cake
While the classic Black Forest Cake is a timeless favorite, there are several exciting variations you can try to add a personal twist to this beloved dessert.
Alcohol-Free Version
For those who prefer to avoid alcohol, skip the kirsch and use cherry syrup or cherry juice to soak the cake layers instead. This keeps the cake moist and flavorful without the extra kick, making it perfect for kids or anyone avoiding alcohol.
Mini Black Forest Cakes
Instead of one large cake, try making individual mini Black Forest cakes using small cake pans or ramekins. This is great for parties or when you want a personal-sized treat. You can layer cherries and cream just like the full-sized version but with a charming presentation.
Black Forest Cupcakes
Turn the classic into cupcakes by baking chocolate cupcakes and topping them with whipped cream, cherry filling, and chocolate shavings. It’s a fun, portable way to enjoy the flavors of Black Forest Cake in bite-sized portions.
Vegan Black Forest Cake
For a vegan option, substitute eggs with flaxseed or applesauce, use plant-based milk and cream, and replace butter with coconut oil. Use dairy-free chocolate and cherries to keep the cake delicious and inclusive for all dietary needs.
Serving and Storage
Proper serving and storage are important to enjoy your Perfect Black Forest Cake at its best.
Serving Tips
Before serving, let the cake sit at room temperature for about 10-15 minutes to soften the whipped cream slightly. Use a sharp, serrated knife to cut clean slices, wiping the knife between cuts for neat pieces. Serve the cake with extra cherries or a drizzle of cherry syrup on the side for added flavor and presentation.
Storage Instructions
Because of the whipped cream and fresh cherries, Black Forest Cake should always be stored in the refrigerator. Cover the cake loosely with plastic wrap or place it in an airtight cake container to keep it fresh and prevent it from absorbing other fridge odors.
Shelf Life
When stored properly, the cake stays fresh for up to 3 days. Beyond that, the whipped cream may start to break down, and the cake could become soggy.
For longer storage, you can freeze the cake layers separately without frosting and thaw before assembling. However, the fresh whipped cream and cherries are best enjoyed fresh for the ideal taste and texture.
FAQs
How Do You Make The Chocolate Sponge Cake Moist For A Black Forest Cake?
To make your chocolate sponge cake moist, you need to use the right balance of ingredients like oil or butter and avoid overbaking. Adding a little coffee or warm water to the batter can enhance the chocolate flavor and keep the cake tender. Bake at the correct temperature and check for doneness with a toothpick to prevent drying out. Once baked, you can also brush the layers with a simple syrup or cherry syrup to add extra moisture before assembling your Black Forest Cake.
What Type Of Cherries Should You Use For Black Forest Cake?
Traditionally, Black Forest Cake uses sour cherries, often called Morello cherries, because their tartness balances the sweetness of the cream and chocolate. You can use fresh, frozen, or canned sour cherries, but fresh or frozen are best if available. If you can’t find sour cherries, sweet cherries can be used but consider adding a little lemon juice to add tartness. Always drain canned cherries well and reserve the syrup for soaking the cake layers.
How Do You Get The Whipped Cream To Be Stable For Decorating The Cake?
To get stable whipped cream for decorating your Black Forest Cake, chill your bowl and beaters before whipping. Use heavy cream with at least 35% fat. Adding a small amount of powdered sugar and a stabilizer like gelatin, cornstarch, or cream of tartar while whipping helps the cream hold its shape longer. Avoid overwhipping as it can turn the cream into butter. Stable whipped cream will hold the decorative peaks and keep your cake looking fresh.
Can You Make Black Forest Cake Ahead Of Time?
Yes, you can make Black Forest Cake ahead of time. It’s best to assemble the cake a few hours before serving or even the day before, as this allows the flavors to meld beautifully. Store the cake in the refrigerator covered with plastic wrap or a cake dome to keep it moist. If you plan to store it longer, avoid decorating it with whipped cream until just before serving to keep the cream fresh and prevent it from weeping.
How Do You Properly Assemble A Black Forest Cake For The Best Flavor And Texture?
To assemble your Black Forest Cake perfectly, start by leveling the chocolate sponge layers so they stack evenly. Spread a layer of whipped cream, then add a generous amount of cherry filling on top before placing the next cake layer. Repeat until all layers are stacked.
Finish with a thick coating of whipped cream on the outside. Decorate with chocolate shavings and whole cherries. Chilling the cake between assembly steps can help the layers set and prevent the whipped cream from sliding, resulting in a neat, delicious cake.
Final Thoughts
Making a Perfect Black Forest Cake is a rewarding experience that combines rich chocolate, juicy cherries, and light whipped cream into one unforgettable dessert. With the right ingredients, proper techniques, and a little patience, anyone can create this classic treat at home.
Whether you stick to the traditional recipe or try one of the many variations, the result is always a crowd-pleaser. Remember to take your time with each step—from baking the moist chocolate sponge to assembling and decorating the layers—to ensure the best flavor and texture. This cake is perfect for celebrations or simply treating yourself. Enjoy the process and, most importantly, savor every delicious bite of your homemade Black Forest Cake!